A dull, broken, or damaged blade is always a burden to any lawn mower user. And it really is a matter of disappointment to anyone if the grass remains the same after mowing the entire lawn.
That’s why people always want to get rid of a dull, broken, or damaged blade. Because without a sharp blade, you can’t get the actual outcome that you are desired for.
Do you want to carry a damaged blade? I guess you don’t. No worries! Changing the blade of the lawnmower is really a simple task rather than any other repairing of the mower. Sounds great! Right?
In this article, I will try to provide you a clear guideline on how to change lawn mower blade. Trust me, after reading this article, changing the blade will be a piece of cake for you.
So, let’s dive in.
In this content you’ll learn:
A Guide To Change A Lawnmower Blade

Basically, there are different types of blades available in the market but the blade changing process is similar in most of the lawnmower.
You will approximately need 20-30 minutes to complete the whole changing process.
But prior to starting the changing process, let’s have a look at the required tools that you actually need in this issue.
Required tools:
- A new blade
- Hydraulic jack
- Socket wrench
- Hand gloves
- Goggles
Now, you are ready to adjust the blade of the lawnmower. To complete the task seamlessly, follow the guidelines mentioned below.
Steps to go ahead:
Step #1: Prepare The Lawn Mower For Blade Change
Take your lawnmower into an even surface or your garage. Remove the spark plug from the lawnmower. This will save you from being electrified in the time of working.
Step #2: Vacant Fuel Tank and Gas Tank
Vacant the lawnmower fuel tank and gas tank completely. Because when you tilt the lawnmower for blade changing purposes, there is a possibility of the oil spill from there.
Step #3: Tilt The Lawn Mower or Place Hydraulic Jack
Now, tilt the lawnmower into its sideways if you use a push lawnmower. This will help you to access the lawnmower blade.
If you use a riding lawnmower, just place a hydraulic jack under the mower deck. Now, press the handle of the jack downwards to lift the lawnmower. Continue the process until you get a suitable position to access the mower blade.
Step #4: Bring Out Blade’s Center Nut and Washer
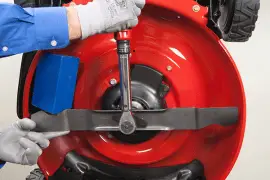
Pick the socket wrench and put it in the blade ‘s center nut. And to detach the nut, twist the wrench anticlockwise. Take out both the nut and the washer too. Keep them in a secure place to be reinstalled.
Step #5: Remove Old One and Replace New One
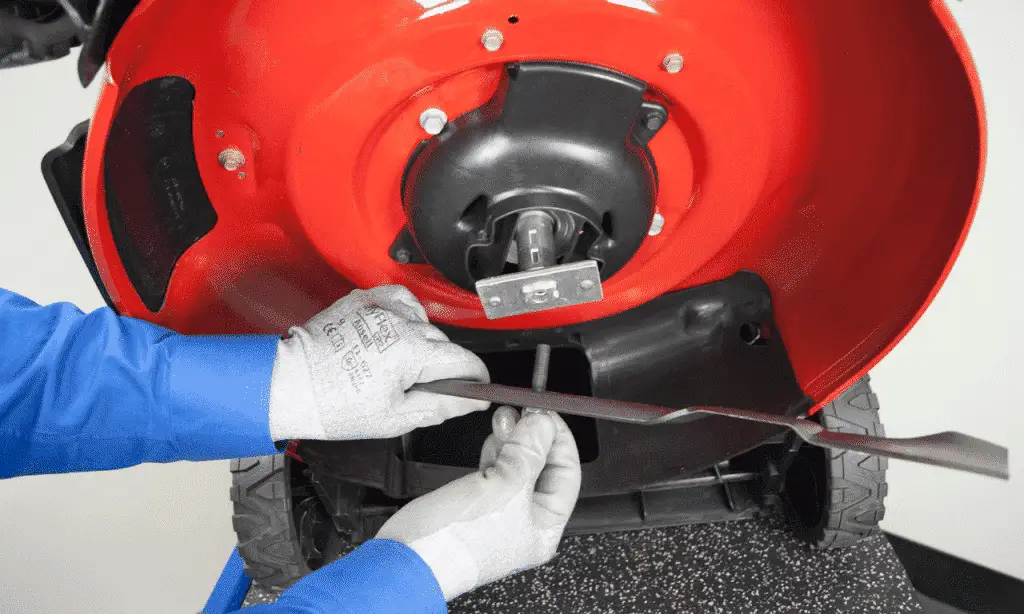
Bring out the mower old blade. Take the mower new blade and position it in place of the existing blade. Replace the washer and the center nut. Take the socket wrench and rotate the center nut clockwise to tighten the nut properly.
Step #6: Test The New Blade
Now, lower the mower. Start the mower and engage the new blade to test the efficiency of the blade.
You are all set now. Your mower is completely ready to turn your lawn into an eye-catching one.
Tips
- Inspect the condition of the old blade. If you figure out any small damage, just sharpen the blade. You can reuse the old blade by sharpening it if there is no major damage in the blade.
Cautions
- Don’t forget to wear hand gloves and goggles when working with the blade.
- Test the stability of the hydraulic jack when repairing the riding lawn mower blade.
Final thoughts
Now, I think it’s no more a difficult task for you. Basically, changing the mower blade is not that kind of task you actually need to be worried.
You don’t need any expertise to do the task. Just manage some time and do it yourself at home.
I hope, from this article, you have got accurate information about how to change lawn mower blade.
So, change the blade, and have fun!
