Last summer, I tried to start my craftsman riding lawn mower. But I couldn’t. Do you guess what was the reason behind it? Yes, you are right. It’s the jammed carburetor.
After that, I was looking for a guideline to clean the carburetor but it totally disappointed me. I guess you face the same issue. But, I don’t want to disappoint you.
Actually you know a carburetor controls the flow of the air and gas towards the engine of the mower. If it is jammed or damaged, it creates trouble in starting the lawnmower as well as controlling the speed of the mower.
In this article, I will try to give you a perfect guideline on how to clean a carburetor on a craftsman riding lawn mower. I believe this guideline will really help you.
So, let’s find out how to clean it.
In this content you’ll learn:
The Process To Clean A Carburetor On The Craftsman Riding Lawnmower
Basically, cleaning a carburetor is really a simple task. You just need to disconnect some connection and merely a few tools to clean a carburetor. It approximately takes 15-20 minutes to complete the task.
Before starting the cleaning process, let’s see what you will need to clean the carburetor.
Required tools:
- Screwdriver
- Socket wrench
- A needle nose pliers
- Carburetor cleaning spray
- Paper towel/ rag
Now, it’s time to clean. Follow the steps stated below to clean the carburetor conveniently.
Steps to follow:
Step #1: Preparation For Cleaning
Place your lawnmower into an even surface and unplug the spark plug of the mower.
Step #2: Vacant Gas Tank
Pull the gas tank upwards. You will see a fuel hole at the bottom of the gas tank. Take a plier and squeeze out the fuel hole connection.
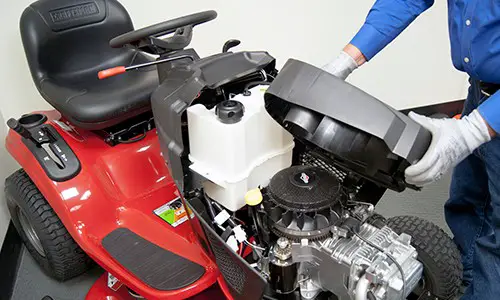
Step #3: Remove And Clean The Mower Air Filter
Turn the air filter anticlockwise to take it off. If the air filter is dirty, clean it, or replace it.
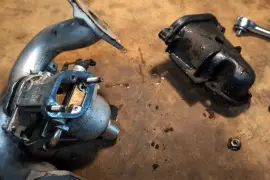
Step #4: Uninstall and Clean The Carburetor Fuel Bowl
Use a socket wrench to remove the screw attached to the fuel bowl. The fuel bowl is attached to the bottom of the carburetor. Rotate the socket wrench counter-clockwise and the screw will come out quickly.
Clean the screw and keep it in a safe place. Pull the bowl downward and you will see the float attach to the carburetor. If you find any liquid inside the bowl, just pour it out and clean the bowl. Use a paper towel or rag to wipe the bowl.
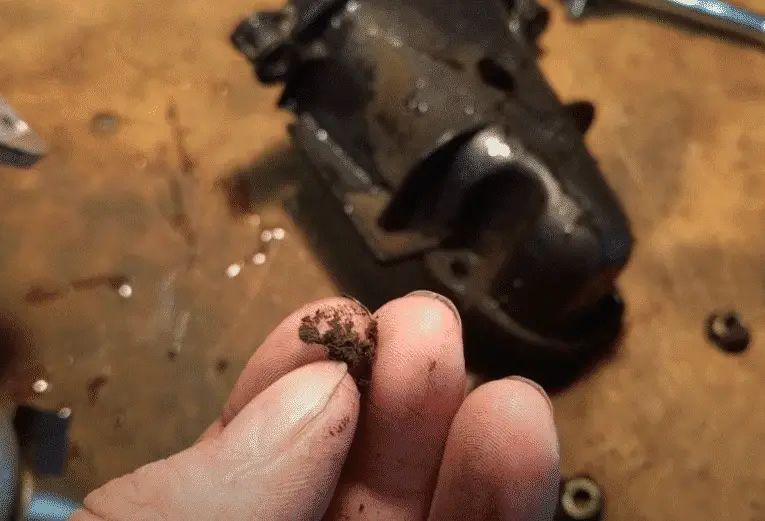
Step #5: Clean The Float
Check the float and make sure that the float is free to move. The float actually controls the flow of the fuel from the fuel tank to the carburetor. If you see the float is jammed or stuck, you need to clean it properly.
Step #6: Remove The Primer Bulb
Now, use a screwdriver to remove the primer bulb attached to the carburetor. It will help you to clean the carburetor properly.
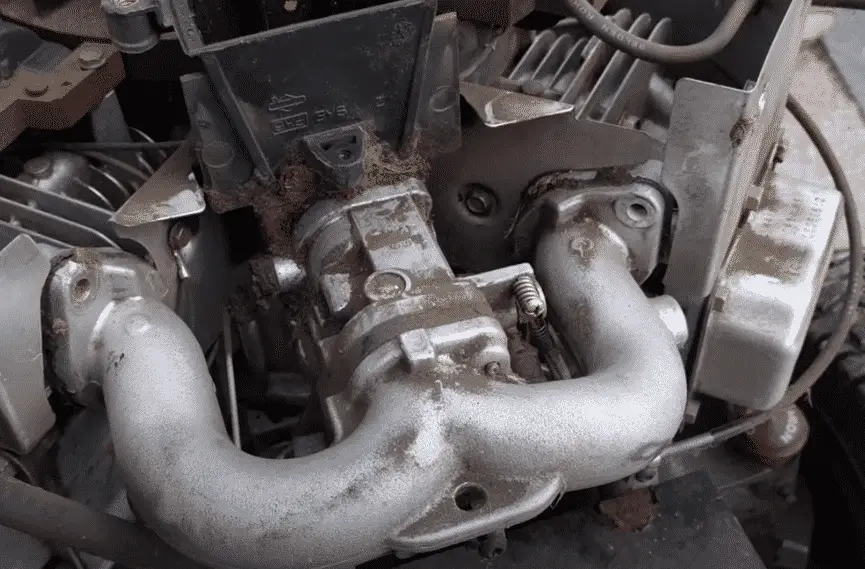
Step #7: Clean The Mower Carburetor
Now, it’s time to clean the carburetor. Take a carburetor cleaner spray and spray it all around the carburetor. Clean the gas line, fuel bowl area, float, and primer bulb area. Use a paper towel to wipe the whole cleaning area properly. Apply some oil/ grease at the primer bulb area.
Step #8: Reassemble The Components Of Carburetor
Now you are ready for reassembly. Reassemble the primer bulb at first. Replace the fuel bowl in its previous position and tighten the bottom screw of the fuel bowl by using the socket wrench. Note that, put the deepest part of the fuel bowl under the deepest part of the float. Otherwise, the float will be stuck with the fuel bowl.
Replace the air filter. Now connect the fuel hole connection with the fuel tank by using a plier. Lock the fuel tank back with the mower. At last, reconnect the spark plug again.
You are all set now.
Cautions
- Wear proper safety clothes in time of any repair. It will save you from any kind of unwanted injury.
- Operate the screwdriver carefully when removing the primer bulb. Otherwise, you may damage the primer bulb of the carburetor.
Final verdict
I think now cleaning a riding mower carburetor is a piece of cake for you. You know if you do this at home, it really saves your bucks for the maintenance of the mower.
You even don’t need to call any technician for this simple task. Just follow the process mentioned above and do it yourself.
I hope this article has helped you to know how to clean a carburetor on a Craftsman riding lawn mower.
Give us your feedback and have fun!