In this content you’ll learn:
Key Takeaways
- Knowing how to diagnose and replace a bad lawn mower air filter is essential to maintaining your lawn mower’s health and performance.
- Diagnosing a bad lawn mower air filter means noticing when your lawn mower starts losing power and checking to see if your air filter is damaged or clogged.
- Replacing your air filter is as simple as removing the old one, cleaning the compartment it was in, and replacing it with the new one.
Air filters are essential for your lawn mower, as they keep dirt and debris from getting inside the engine. So, knowing how to diagnose and replace a bad lawn mower air filter is essential to lawn mower maintenance.
Here’s how to do it.
How To Diagnose A Bad Lawn Mower Air Filter
Most lawn mower manufacturers recommend you replace your lawn mower air filter at least once per mowing season or after 25 hours of mowing.
While I’ve had air filters last a lot longer than that, it’s still a good idea to check your air filter if you experience any of the following problems with your lawn mower.
1 – Look For The Symptoms Of A Bad Air Filter
The air filter’s only task is to ensure clean air reaches the carburetor free from dirt and debris.
You can usually tell there’s a problem when your lawn mower starts losing power. Push lawn mowers will struggle to reach their normal running speed. Instead of the engine increasing in speed as it heats up, it will sound sluggish, with the exhaust making popping and banging noises accompanied by puffs of black smoke from the exhaust.
Your blades will bog down when cutting long grass, not having the power to cut cleanly through it.
Ride-on lawn mowers also become sluggish, struggling to maintain or reach their normal speed on slight inclines and not cutting cleanly through thick patches of grass.
You will notice a marked increase in fuel consumption as the motor draws more fuel into the carburetor to compensate for the lack of air reaching the combustion chamber.
As dirt and debris almost totally block the air filter, starting your lawn mower will become much more challenging. Due to the lack of air reaching your carburetor, you end up with an over-rich mixture. Your lawn mower needs a rich mixture (one with higher levels of fuel to air) to start a cold lawn mower. Without enough air, the mixture will not ignite when the spark plug fires.
2 – Remove Your Air Filter
Before working on your lawn mower, disconnect the spark plug wire from the spark plug. This ensures your lawn mower doesn’t start while you’re working on it.
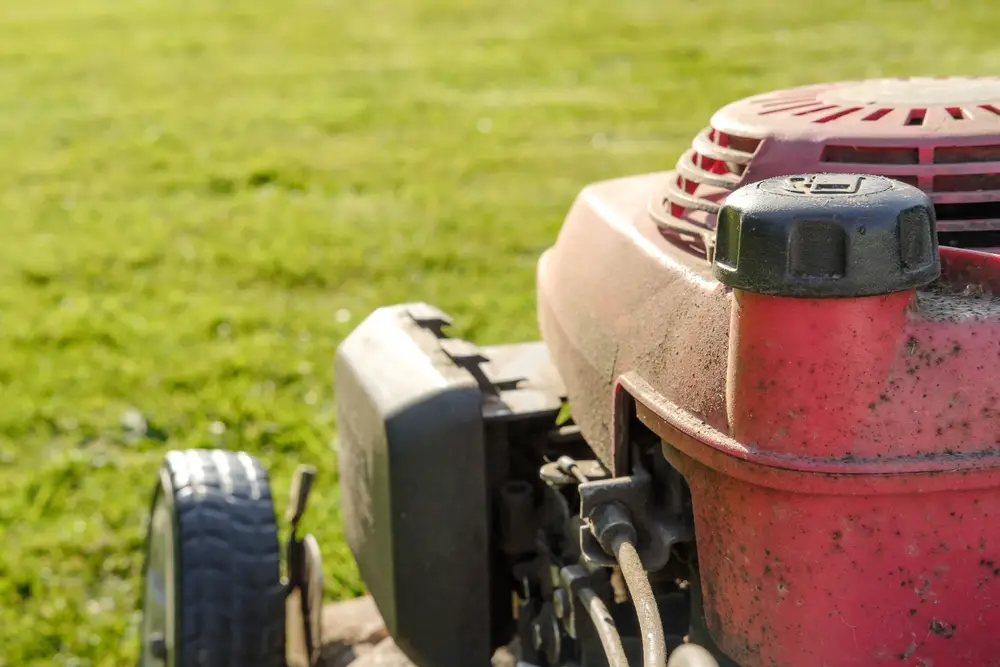
Your lawn mower manual will have a diagram showing exactly where your air filter is, but you can usually find your air filter on the top or side of your lawn mower, attached on or close to the carburetor in a plastic box. This box is a round or rectangular, black plastic box with either plastic tabs, metal clips, or a screw holding it in place.
Remove the box cover by unscrewing the retainer screw or screws. If the housing has plastic tabs, you can push them down with your fingers or use a flathead screwdriver to remove the lid.
Be careful not to break the tabs, as they can become quite delicate after years of use.
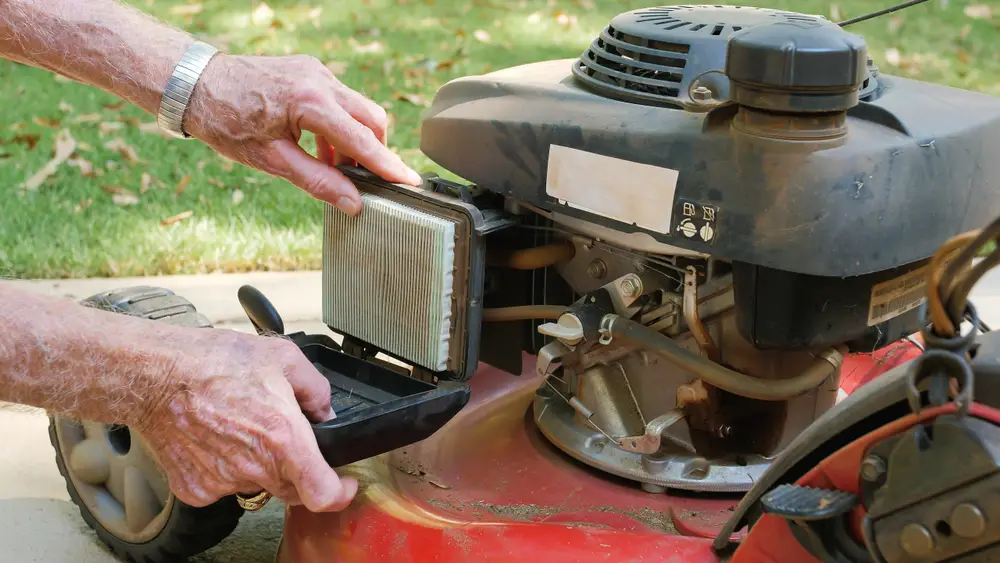
You’ll find the air filter inside the box. It’ll either be pleated paper or foam.
Pull the air filter out of the filter box by carefully holding it by the plastic frame – avoid damaging the paper filter element.
You may find the rubbery plastic has melted slightly onto the bottom of the air filter box. This will require careful twisting and pulling to get it to release its grip.
3 – Inspect Your Air Filter
Over time, heat and dirt change the color of the air filter to a dirty brown or black. However, the discoloration is less critical than the amount of dirt or damage to your filter.
After inspecting your filter for damage, give it a gentle shake to dislodge any sand or other debris lodged in the pleats of paper filters.
You can also give foam filters a good shake to remove sand and other particles. You will typically have to scrape away grass clippings that become compacted on the outside edge of the foam filter.
Inspecting Paper Air Filters
Some paper air filters have a flexible rubber frame that allows you to bend the filter so the pleats open up.
Carefully bend the frame just enough to see inside the pleats, noting any tears or other damage to the filter material. You can hold the air filter by the frame and tap it against your shoe or thigh to help dislodge any particles.
If the paper or foam has deteriorated to the extent it has gaping holes or is misshapen, replace the filter with a new one.
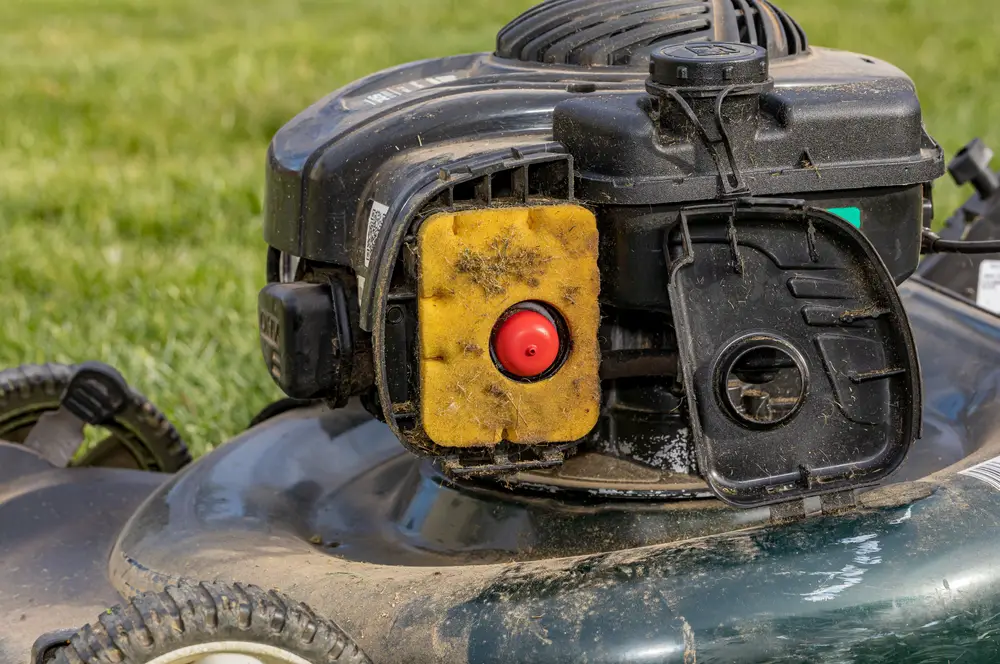
Inspecting Foam Air Filters
Some air filter boxes or housings are removable once you remove the retaining screw or clips. Many of these have foam filters attached to the inside of the cover.
A removable housing usually has a metal grid around it, allowing you to see inside the filter. Remove the housing end cap and pull the foam filter material out if the foam looks broken or damaged.
On removable plastic covers, the foam filter is held in place by a push fit, which allows you to just peel them out.
Form filters are more prone to heat damage, so inspect them carefully by feeling the surface to see that it is still soft and spongy. If the surface is hard and cracked, it needs replacement.
To clean foam air filters, tap them on your shoe or thigh, allowing any sand or dirt to fall out. You can also give a squirt with an air gun to eliminate debris clogging the inner sections.
Clean the foam in hot water with a bit of washing liquid if the foam is very dirty. Give it a good rinse afterward and leave it overnight to dry.
How To Replace A Bad Lawn Mower Air Filter
Replacing your lawn mower air filter is quick and easy so long as you have the necessary tools and replacement parts.
Let’s begin with following proper safety precautions.
1 – Follow Proper Safety Precautions
Wait for your lawn mower to cool down if you’ve been using it. Otherwise, wear safety gloves and goggles.
Unplug the spark plug lead, pulling the large rubber cover off the spark plug and pushing it to one side.
2 – Gather Needed Tools And Materials
Here’s what you’ll need:
- Work gloves
- Safety goggles
- Flathead screwdriver
- Socket set
- Clean rags
- Compressed air (can or compressor)
- Air filter replacement
3 – Replace Your Air Filter
If your air filter is undamaged, cleaning it should solve your problem. In that case, carefully remove all dirt and debris with compressed air and by hand.
However, if it’s damaged, replace your air filter with a new one.
Each lawn mower has its own specific air filter. Only replace your air filter with another one recommended by your lawn mower dealer or manufacturer.
If you use the incorrect air filter, you risk allowing debris into your carburetor, which may damage the motor.
Use a rag to clean out the air filter box, removing any debris, sand, or twigs that might have found their way inside. Be careful not to allow dirt to enter the inlet hole at the back of the air filter.
You can use a clean rag to plug the hole while you clean the filter box.
Remove the new air filter from its packaging and place it inside the air filter housing, making sure it fits snugly in place.
Don’t forget to replace the foam filter in the filter cover, pushing it in place and ensuring it is correctly oriented so it covers the air filter cover holes completely.
Place the air filter cover back on the housing and either push the plastic tabs with your hand or screw the retaining screw in place.
4 – Test Your Lawn Mower
Do a test run with your lawn mower to see if replacing or cleaning your air filter solved the issue. If not, you’ll need to look for and solve another issue or take it to a professional.
Maintenance Tips For Air Filters
Brush off any grass clippings, sand, and dirt from the air filter each time you use your lawn mower.
You can also open the air filter housing and clean out the grass clippings and sand that collect against the foam filter in the housing cover.
Check your air filter after every 25 hours of use and replace your air filter at least once per year.
My Experience With Diagnosing And Replacing Bad Lawn Mower Filters
I’ve spent many years cutting grass in some pretty arid areas. With long, hot summers creating dusty, dry conditions, my equipment has always needed a thorough weekly check to ensure the air filters remain dirt-free.
In the mid-1980s, a particularly dry spell hit our town, leaving most lawns in a very poor state. Water restrictions were in place, meaning you could only water your lawn for a couple of hours twice a week in the early evening.
I was away from home on military service for months at a time, meaning our staff mowed the lawns without supervision. On returning, I discovered two of our lawn mowers wouldn’t start and was informed that they’d been hard to start for a few weeks before.
Noticing the apparent neglect, I cleaned the lawn mowers with a stiff brush and opened the air filter box. As I removed the lid, sand and grass clippings cascaded out of the air filter.
The paper air filter was full of debris but fully intact, without any tears or holes. After removing it, I cleaned out the filter box and gave the filter a few squirts with the air hose. The air dislodged all the dirt caught in the grooves, so I replaced it and screwed the lid back in place.
It didn’t take more than a few pulls on the starter cord to get the lawn mower running again.