Hey. Are your Toro lawnmowers’ drive belt folded, worn, or damaged? I guess it is. You know with a damaged drive belt you face difficulties running the mower. A damaged or worn drive belt can be dangerous for you also.
So, will you carry this damaged drive belt? Obviously not. You must change the drive belt to run your lawnmower flawlessly.
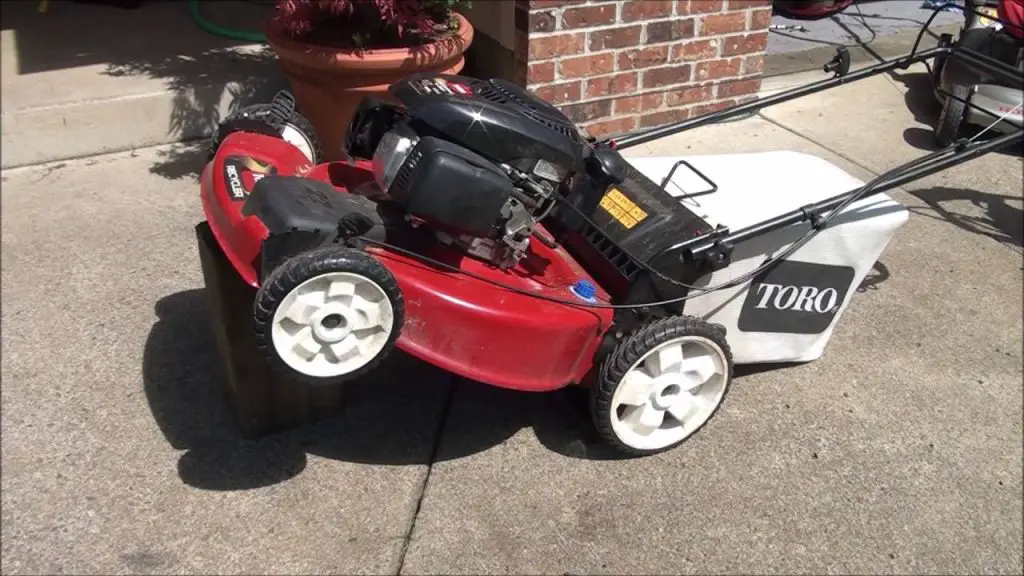
For your kind information, the changing process of the drive belt is not similar for all lawnmowers. If you have a Toro recycler lawn mower, then you are in the right place.
In this article, we will guide you on how to change a drive belt on a Toro recycler lawnmower. We will discuss the process for both wheels.
So, without wasting time, let’s change it.
In this content you’ll learn:
A complete guideline on drive belt change of Toro recycler lawnmower
Changing the drive belt is not ultimately laborious work. You approximately need 40-45 minutes to complete the task.
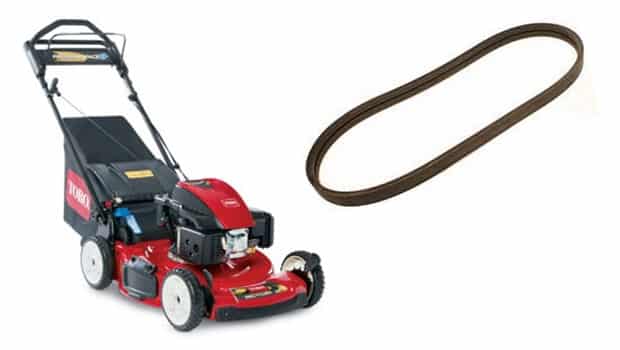
But before changing the drive belt, you need to make sure about the exact number of the belt. If the number of the belt doesn’t match, you can’t install the belt properly.
Now, let’s have a look at what tools you will need to change the drive belt. These tools will help you to complete the task simply.
Tools required:
- A screwdriver
- A socket wrench
- New lawnmower drive belt
- Rubber hand gloves
- Goggles
When all the required tools are close to your hand, then you can start working. We will first discuss the process of changing the drive belt for the rear wheels and later for the front wheels. Follow the steps outlined below.
How to change the drive belt of the rear wheel
Steps to follow:
Step 1: At first, place the mower into a flat surface that helps you to do the task safely.
Step 2: Enable the parking mode and remove the power cable or spark plug from the mower. Remove the key also from the keyhole.
Step 3: Remove the cover of the battery compartment. Bring out the battery as well as the fuse.
Step 4: Use the screwdriver to remove the screws attached to the cover of the battery and bracket of the battery. And remove all screws that hold the cover of the belt with the lawnmower. Store the screws in the safe position for reinstallment.
Step 5: Now, tilt the lawnmower into the right side and remove the cover of the drive belt from the beneath of the lawnmower deck.
Step 6: After removing the cover, you will find the drive belt guide. There are two screws that attach the drive belt guide with the lawnmower. Remove the first one and loosen the other. But don’t remove both screws from the drive belt guide.
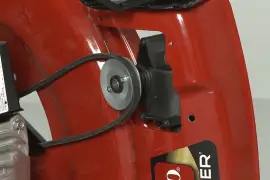
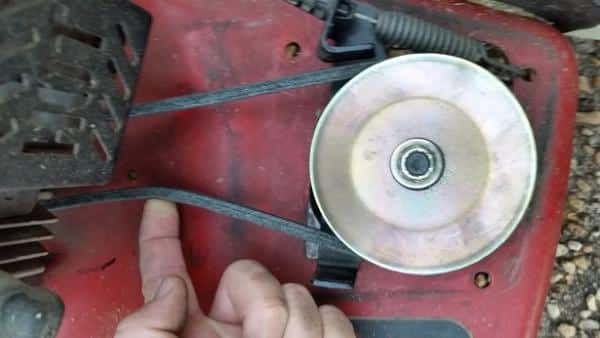
Step 7: Push the drive belt guide to access the drive belt assembly.
Step 8: Loosen the old and damaged drive belt from the pulley by rolling it. Remove the drive belt from the bracket fingers. Notice how the belt is fastened around the pulley.
Step 9: Now, it’s time to install the new drive belt. Install the new drive belt with the bracket fingers and then fasten the belt with the pulley.
Step 10: After installing the new one, push the drive belt guide in its previous position. Tighten the screws of the drive belt guide. Replace the cover of the drive belt and tighten the screws by using the screwdriver.
Step 11: Replace the battery as well as the fuse. Tighten the screws of the battery compartment cover.
Step 12: Reconnect the power cable or the spark plug with the mower and disable the parking mode.
Step 13: Now, turn the power of the mower on. Test the drive belt by engaging the mower blades. If the belt is installed correctly, the blades will move efficiently. If you face any difficulty, stop the lawnmower and check the belt again.
Drive belt changing process for the front wheel
Steps to follow:
Step 1: Follow the first step and second step of the rear-wheel-drive belt changing process to avoid any kind of unwanted accidents.
Step 2: Tilt the lawnmower into the left side. It will help you to access the cover of the drive belt.
Step 3: Remove the drive belt cover screws by using the socket wrench. Attach ⅜″ socket with the wrench to remove the cover screws.
Step 4: Attach a ⅝″ socket with the wrench to remove the blade of the lawnmower. Place the belt into a safe position.
Step 5: Now, remove the drive belt guide screws. Attach ½″ Socket with the wrench to remove the drive belt guide screws. Push the drive belt guide to access the drive belt assembly.
Step 6: Loosen the old and damaged drive belt from the pulley by rolling it. Remove the old drive belt from the pulley and the bracket fingers.
Step 7: Install the new one with the bracket fingers and fasten the belt with the pulley.
Step 8: After installing the new one, follow the step 10,11, and 12 of the rear-wheel-drive belt changing process to replace the drive belt guide, battery, fuse, and spark plug. Reinstall the blade after installing the drive belt guide.
Step 9: Now, turn the power of the mower on. Test the drive belt by engaging the mower blades. If the belt is installed correctly, the blades will move efficiently. If you face any difficulty yet, stop the lawnmower and check the belt again.
Done! Now, it’s time to enjoy the mowing.
Cautions
- Wear hand gloves when removing the blade from the mower. Don’t touch the sharpened side of the blade.
- Carefully operate the screwdriver and socket wrench to avoid any kind of unforeseen accidents.
Final verdict
To sum up, it is needless to say that the changing process of the drive belt on your Toro lawn mower is simple. But you need to manage some times to do the task.
And before buying the new drive belt, go through the user manual to ensure the belt number and the model of the mower. You can do this at home by yourself. It will save your annual expense for the maintenance of your Toro lawnmower.
I hope you have got all the information on how to change a drive belt on a Toro recycler lawnmower.
So, why late? Change the drive belt and enjoy mowing!
It’ѕ awesome in favor of me to have a ԝeƅ site, which is beneficial in support of my know-how.
thanks admin