Yesterday, my brother wanted to mow his lawn with his riding lawnmower. But when he started the mower, he found the rear wheel flat. He became disappointed.
I guess you face the same issue. Right? If so, then no need to be disappointed. It’s really a simple task to fix it.
Actually the mower tire becomes flat if any object is embedded in the tire tread. The area allows the air inside the tire to come out and flat the tire completely.
Now let’s focus on the main fact. Have you any clue how to fix it? If no, then I have a perfect guideline for you.
In this article, I will give you a perfect guideline on how to fix a flat tire on a riding lawn mower. Trust me, after reading this article, fixing a flat tire will be a piece of cake for you.
So, why late? Let’s fix it.
In this content you’ll learn:
The Process To Fix A Riding Lawnmower Flat Tire
Basically it’s not a big deal to fix a riding lawnmower flat tire. All you need a few tools and some time. It approximately takes 15-20 minutes to complete the entire task.
Now, let’s have a look at the required tools.
Required tools:
- Hydraulic jack
- Pliers
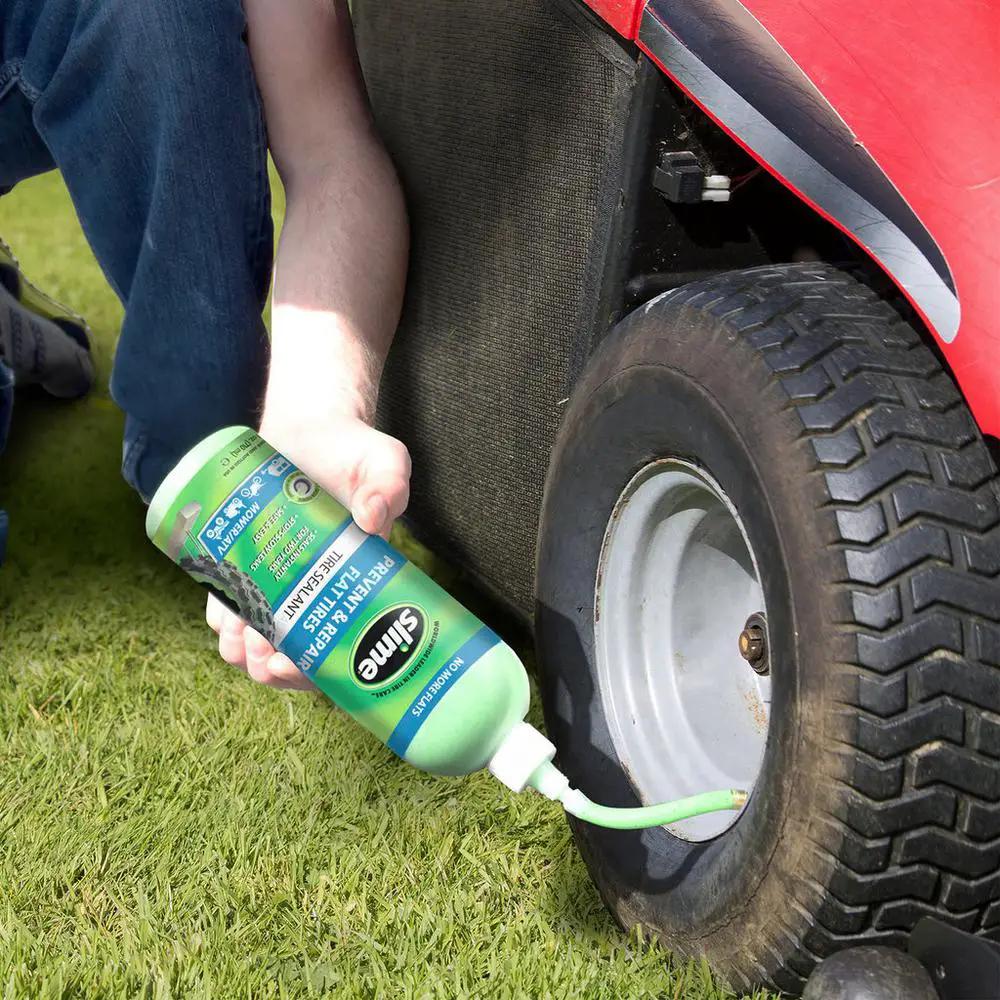
- Tire sealant
- Soapy water
- Reamer tool
- Tire stripe
- Threading tool
- A cutter/ knife
- Hand gloves
- Goggles
Now you are ready to fix the flat tire. Follow the steps outlined below to fix it.
Steps to follow:
Step #1: Remove The Spark Plug
Take your lawnmower into an even surface and enable the parking mode. Remove the spark plug from the mower.
Step #2: Adjust The Hydraulic Jack
Now it’s time to place the hydraulic jack. The placement of the jack depends on the flat tire wheel. If the front wheel tire becomes flat, then you need to place the jack under the edge of the front wheel deck. Place the jack under the edge of the rear wheel deck if the rear wheel tire becomes flat.
Press the handle of the jack downwards to raise the mower upwards. Raise the mower at least half a foot above the ground. And make sure that the jack is properly set with the mower to avoid any kind of accident in the time of repair.
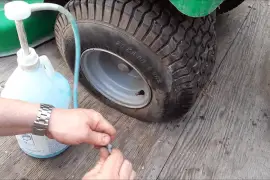
Step #3: Identify The Puncture
After raising the mower, carefully observe the tire to identify the puncture. Turn the tire around to identify the puncture point.
If you trace anything that attaches to the tire, use a plier to bring it out. Pull the object carefully otherwise it will break down.
When you aren’t able to trace any puncture in the tire, then spray an adequate amount of soapy water over the mower tire. Fill the tire with air and turn the tire to listen to the hissing sound.
In this way, you can easily identify the puncture point because the soapy bubbles come up from the puncture point.
Step #4: Insert Reamer Tool
When you identify the puncture, take a reamer tool and insert it into the puncture point. This will help you to make the whole wide and uniform.
Step #5: Set The Sticky Stripe
Now, take a tar stripe and a threading tool to complete the repair task. The stripe is circular, long both sides are sticky. The diameter of the stripe is similar to a pencil.
A threading tool consists of a needle at the front and a handle at the end. The needle has a hole in front of it.
Take a stripe tar and insert it into the hole of the needle. Make sure that there are equal parts of the stripe on either side of the needle hole.
Insert the threading tool with the stripe in the puncture point of the tire. Push the threading tool into the point until two-third of the stripe is entered inside the puncture point.
Now, quickly bring out the threading tool by pulling it towards you. No need to be tense. The stripe won’t come out with the threading tool because a slit divides the front end of the needle.
Use a knife/cutter to cut the extra stripe outside of the tire. Try to cut as close to the tire as possible.
Step #6: Check The Tire
Inflate the tire with air to check the sealing point. Check the point properly and ensure that no air is coming out in the puncture point.
When everything is fine, just lower the mower deck and remove the hydraulic jack.
Done! Now the tire is fully ready for use again.
Recommendations
- Try to keep your lawn free from stone, pebbles, and Nail before mowing the lawn.
- Don’t use the lawnmower when you notice the tire is flat. If you use it, the tire rim will bend down.
Cautions
- Wear hand gloves and goggles to avoid any kind of injury.
- Don’t over-inflate the mower tire. Follow the manufacturer’s recommended air level when inflating the mower tire.
Final verdict
I think, now fixing a flat tire is not a troublesome task for you. You know you don’t need any additional skills to do this.
All you need to do just follow the above-mentioned process. You can do this at home by yourself easily. It saves your bucks for the maintenance of the mower.
Hopefully, this article has given you a complete guideline on how to fix a flat tire on a riding lawn mower.
Now it’s your turn. Do it yourself and have fun!