A lawn mower’s pulley can develop several problems, such as rusting or breaking. Thankfully, these are common problems, so there’s no need to worry. What you’ll get in this article are the 6 steps you need for how to remove the pulley from a riding lawn mower, so let’s get to it.
In this content you’ll learn:
How to Remove Pulley from Riding Lawn Mower
Why Does A Lawn Mower’s Pulley Need To Be Removed?
Pulleys are made of metals. When those metals come into contact with water, they begin to rust. Since a lawn mower’s pulleys transmit the engine to power a lawn mower, a heavily rusted pulley that no longer works properly can become a big problem. Sometimes even the whole lawn mower will stop working.
First up are the tools you need to get started.
Tools Needed
- Rust-penetrating spray
- Work gloves
- Wire brush
- Safety glasses
- Socket wrench
- Adjustable wrench
- Hammer
- Spindle puller
- Screwdriver
- Bowl to hold loose bolts, etc.
- Rust penetrating spray
- Owner’s manual
Now that you have the tools you need, let’s get to the steps.
Steps To Remove Pulley From Lawn Mower
1. Safety First
Even on simple or easy jobs, safety is always the priority. Before even starting with your riding lawn mower, put on your work gloves and safety glasses. We recommend removing any jewelry and loose-fitting clothes too, as these can get caught on things while you work or just get in the way.
After getting geared up, disconnect the lawn mower’s plug and then press the parking brake. This removes the chances of an unwanted start. We also recommend chocking the wheels and making sure the lawn mower is on a level surface. Next, check for any gas leaks. If everything looks good, it’s time to remove the lawn mower’s deck.
2. Detach The Lawn Mower’s Deck
You have to detach the lawn mower’s deck so that you can access the pulley. Every lawn mower is a little different, but you’ll want to lower the deck to the lowest possible setting. You may have to unhook some clips too, and you’ll have to remove the belt.
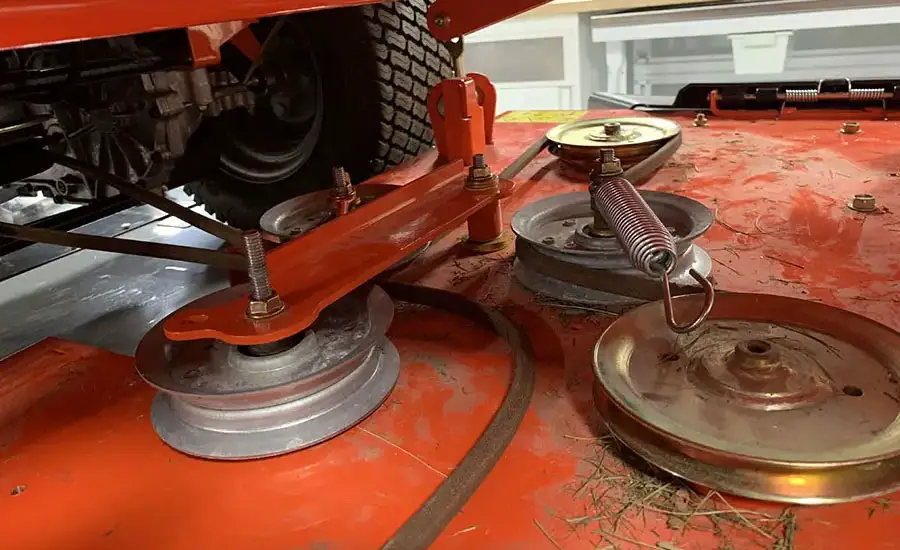
3. Remove The Pulley Guards
If your lawn mower has pulley guards, you’ll just need to unscrew those from around the pulley. Place the screws in a safe place.
4. Remove The Center Bolt
Loosen the center bolt (if there is one) with a socket wrench until you’re able to remove it. Too much force can break the bolt, so be careful when doing so.
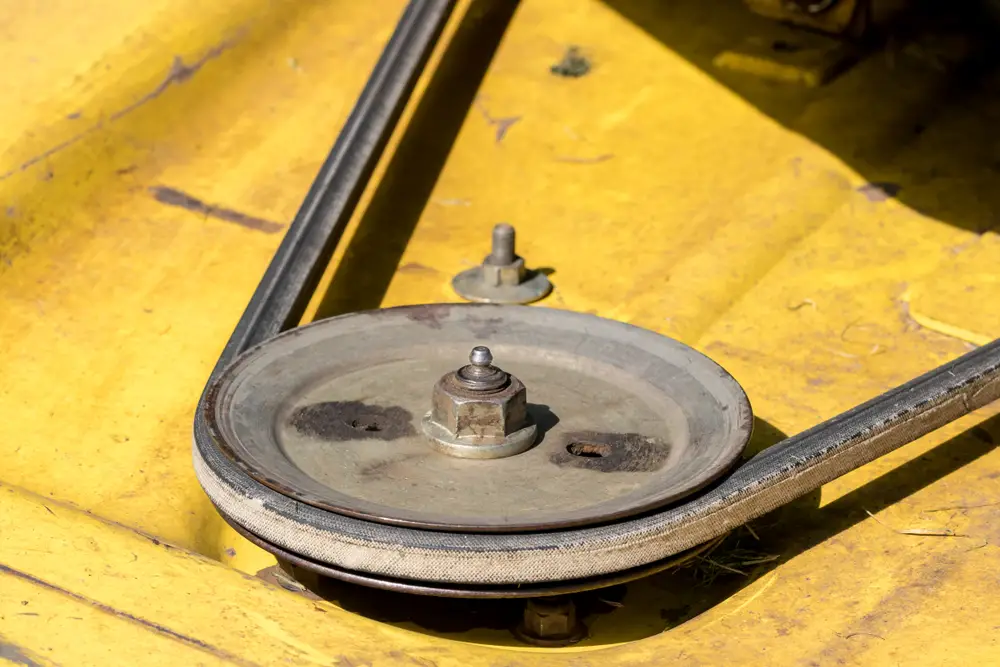
5. Remove The Pulley
Lock the 3 jaws of the spindle puller under the pulley and position the screw in the center of the pulley so that it’s resting on the spindle shaft. Use a wrench to turn the screw clockwise. As you turn it, the jaws will pull the pulley off the spindle.
6. Remove Rust On The Pulley (If Required)
Once you can access the pulley, you’ll be able to get a good look at how rusted it is. To clean it, use a metal brush then apply the rust-penetrating spray. After the spray has done its job, apply some lubricating oil to the bearing and both sides of the pulley’s hub. Let it do its thing for between 25 minutes and 2 hours.
In Conclusion: How To Remove Pulley From Riding Lawn Mower
By now, you should have a pretty good idea of how to remove the pulley from a riding lawn mower. We hope the process goes well and smoothly for you.
We’re curious though. What have your experiences been like with removing other lawn mower parts? Any tips? Let us know in the comments below!