As a lawn mower user, you must have a thorough understanding of all the parts of lawn mowers. And mere understanding is not enough. You should regularly check some things such as engine oil, cutting blade, voltage regulator, etc. It will keep the lawn mower in better condition and increases its durability.
You know a voltage regulator controls the volume of the power supply and saves the vehicle from being shorted or excessive heating. A bad voltage regulator can damage the battery.
After all, it ruins the ability of the lawn mower and prevents it from turning on. For a bad voltage regulator, you may face huge financial losses. So frequently testing a voltage regulator on a lawn mower is a must. It will ensure your safety as well.
Now come to the point, don’t you know how to test a voltage regulator on a lawn mower? Nothing to worry. We are here to give you proper guidelines.
Let’s start without delay.
In this content you’ll learn:
The Process To Test A Voltage Regulator On A Lawn Mower:
Here, we will guide you with the most frequently used process to test a voltage regulator. It is a facile process and takes only 5 to 7 minutes.
First thing first. Collect the user manual from the company website of the lawn mower that you used. Go through it carefully to avoid any kind of unexpected incident.
Now, have a look at the tools that we need to test a voltage regulator.
Tools required:
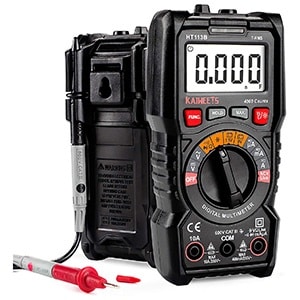
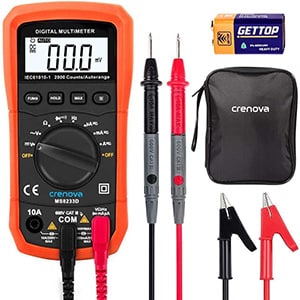
- A multimeter
A multimeter can be used to read the voltage of the battery. It will give you the proper idea of battery performance. You can buy a multimeter from the electrical shop, hardware shop, online store and in an automobile shop. The price range of a multimeter within 14$~100$ according to its building materials and internal functions.
KAIWEETS 4000
Crenova MS8233D
AstroAI TRMS 6000

- Electrical insulation hand gloves
Since the lawn mower is still active while you work, you must wear electrical insulation hand gloves.
KIM YUAN

FR Knit Glove

Lineman

Steps to follow:
Step #1: Prepare The Lawn Mower
Locate the lawn mower into a flat surface. You will feel comfortable when working. But of course, wear the hand gloves for safety purposes.
Step #2: Locate Lawn Mower Battery
Find out the lawn mower’s battery. The voltage regulator is always attached to the battery.
Step #3: Set The Multimeter
Now turn the multimeter button to voltage. On a multimeter, the voltage is marked as V or ∆V. If you still do not understand, go through the user manual that comes with the multimeter.
You should always keep in mind that the voltage is never measured at ohms or ampere. If you turn the button to ohms or ampere, it can damage the battery as well as your device.
Step #4: Connect Cables
A multimeter always carries two cables-a red cable and a black cable. In the battery, there are two nodes signed as + and -, which means positive and negative nodes.
Attach the black cable of the multimeter with the positive (+) node and red cable to the negative (-) node. If your battery has a plastic lid on the battery terminal,of course, you have to remove it.
Step #5: Check The Multimeter
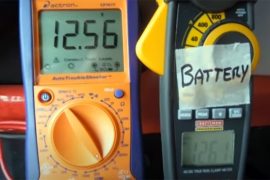
Now, check the multimeter display.
- If the meter shows reading slightly higher than 12 volts, it means battery performance is OK.
- If the meter shows reading under 12 volts, it means the performance of the battery is decreasing.
- When the multimeter does not show any readings, it should be noted that the battery is dead.
- If the multimeter is not set up properly, no readings can be seen. Then, check the connection of the multimeter again.
Step #6: Start The Lawn Mower
Turn on the power of the lawn mower. Check the reading shows in the display of the multimeter.
- You will find that the reading has increased and it will be around 13.8 volts. This means the battery is charging properly.
- If the reading is over 14.5 volts, this means the regulator has some fault.
- When the reading is below 13.8 volts, it means the battery is gradually weakening and it needs to be changed as quickly as possible.
- All the readings are taken when the power of the lawn mower is on and in the parking position.
Cautions:
- Wear electrical insulation hand gloves for safety purposes when working.
- Go through the user manual of the multimeter. Read all the instructions stated there. You know inaccurate use can be dangerous for you. This can also damage the lawn mower.
Final verdict:
The voltage regulator helps the smooth movement of charge from starter to battery. When the voltage regulator becomes disable or weak, the flow of the charge is also interrupted.
So after a few day’s intervals, it is necessary to check the voltage regulator to protect the battery and to check the performance of the battery. But of course, keep yourself safe and work by following cautions.
Hopefully, this article has helped you to get the proper guidelines on how to test a voltage regulator on a lawn mower.