The boring winter has gone and a few days ago I wanted to mow my lawn with my self-propelled Honda lawnmower. But I became flabbergasted to see the condition of my mower. Most of the parts required to be adjusted.
Do you face the same issue? I suppose so. If so, then this guide is only for you.
Basically the parts of the lawnmower become damaged if you don’t use the mower for a long period of time. You know without adjusting them, you can’t turn on the mower. Seems tragic. Right?
But no worries. Adjusting the faulty parts of the lawnmower is not a difficult task.
In this article, I will try to share with you how to adjust self propelled Honda lawn mower. And of course, this article is a reflection of my experience.
So, why late? Let’s start.
In this content you’ll learn:
A Complete Guide To Adjust Self-propelled Honda Lawnmower

Basically adjusting a self-propelled lawnmower is a little bit tricky if you are a newbie. However, following a complete guideline will surely be helpful for you to complete the task conveniently.
Let’s see how to adjust a self-propelled lawnmower at home. All you need to manage some time and follow this guideline.
Spark plug:
You know spark plug is a vital part of starting the mower. If the spark plug is jammed or damaged, you aren’t able to start the mower.
To check the spark plug, at first, you need to unplug it from the mower. If you find any dirt, just clean it or replace it when it is damaged.
Spark arrester:
It is not actually true that you can’t start the mower without the spark arrester. But sometimes this also becomes a useful part to start the mower.
If the spark arrester becomes dirty, you need to clean it. Otherwise, it creates difficulties when you attempt to start the mower. Note that, the engine must remain cool when you work with the spark arrester.
And to clean the spark arrester, remove the mower spark plug. Remove the flange bolts, heat guard, and the screws. Now remove the mower spark arrester and clean the carbons that deposit inside the arrester. Use a brush to clean it. After removing the carbon, replace all the parts in their previous position.
The control cable:
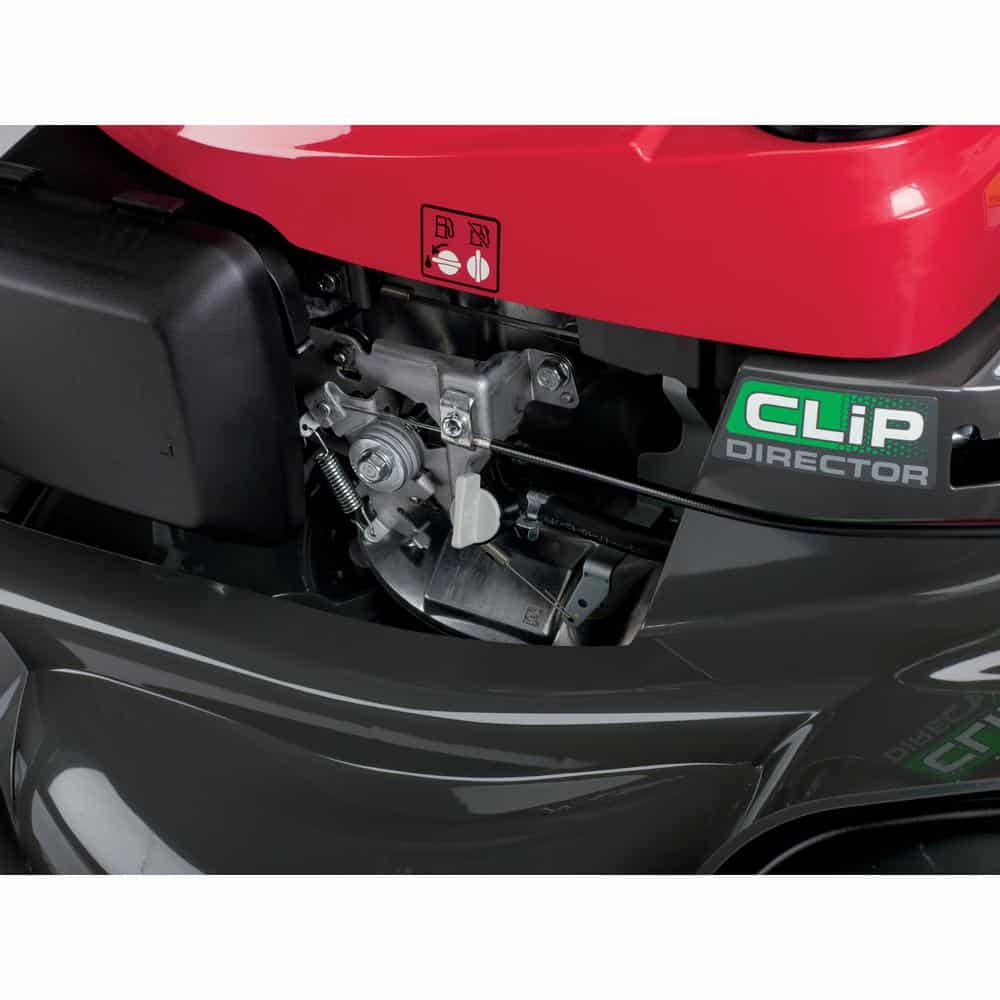
The control cable basically controls the mower when the power is on. So, you need to keep the cable good in condition to get perfect control over the mower.
To check the cable, at first, stop the mower engine. Now press the mower shift bar into the neutral position and turn on the mower. Press the throttle lever towards the fast position and engage the mower drive clutch bar. If the mower moves forward, then the cable is in good condition.
If the mower doesn’t move forward, you need to adjust it. Now, loosen both end nuts of the cable. Use a socket wrench to loosen the nuts but don’t remove the nuts fully. Move the cable adjuster back and forth to adjust the cable properly. When you feel the cable is properly adjusted, tighten the nuts.
The blade control bar:
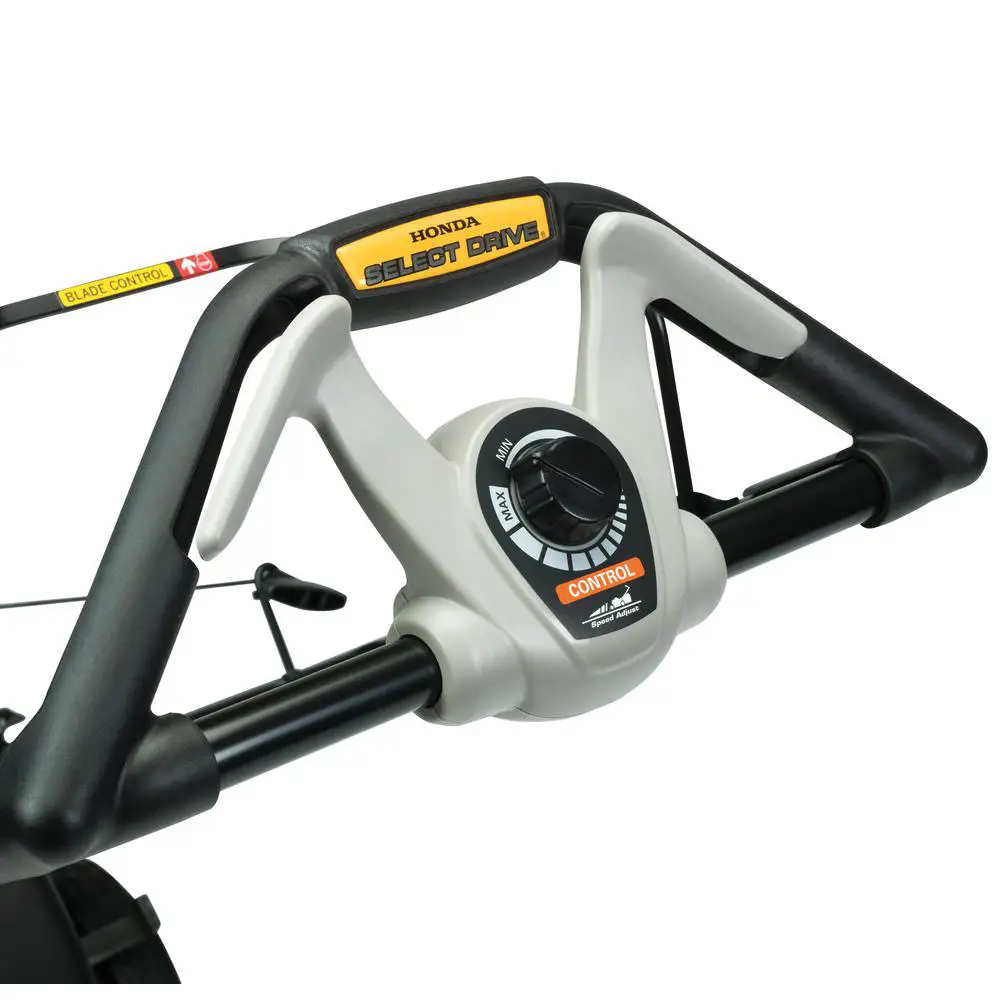
If you want to adjust the blade control bar, press the blade control yellow button downwards and hold it in that position. Now, use a wrench to loosen the nuts. Move the adjuster back and forth to remain to adjust it. Tighten the nut properly.
Start the mower and push the throttle lever into the fast position quickly. Move the blade control bar to see whether the blade is engaged properly or not. Release the bar to inspect the blade stop rotating. In this way, you can easily adjust the blade control bar of your self-propelled lawnmower.

The smart drive:
Adjusting the smart drive is basically not a difficult task. It approximately takes 5 minutes to adjust the smart drive of your Honda self-propelled lawnmower.
To adjust it, locate the smart drive cable first. You will find it on the left side of the handlebar. You will need two wrenches to adjust the smart drive cable. Now, one place wrench at the right side nut and rotate it counterclockwise. Use another wrench to hold the cable properly.
Adjust the cable and tighten the nut. Check it by moving the mower backward. If you feel that the nut is over-tightening, just loosen the nut slightly. Check the mower again to get perfection after every adjustment.
Mower deck:
Sometimes the mower deck becomes clogged due to grass clippings and dirt. It creates difficulties when you attempt to operate the mower.
To clean the mower deck, remove the spark plug and place a plastic bag on the fuel valve of the mower. It will help you to stop the leakage of the fuel. Now tilt the mower at its sideways to access the beneath of the mower. Take a brush and clean it. A clean mower deck gives the blade proper room to spin.
The transmission:
The transmission of Honda lawnmower is better than the other lawnmower and it rarely fails. However, If it fails, you need to change the whole unit.
It’s basically not a complex process to change the transmission. All you need is patience and some tools such as a wrench, pliers to fix it.
Cautions
- Don’t forget to wear proper safety clothes when you do any kind of repair on your lawnmower.
- Always unplug the spark plug from the mower before doing any repair. It will save you from being electrified at the time of repairing.
Final verdict
Now, I think you have a clear idea of the adjustment process of the self-propelled Honda lawnmower. So if you find any fault in the above-mentioned parts, just adjust it at home by yourself.
Hopefully from this article, you’ve got a clear concept on how to adjust self propelled Honda lawn mower.
If you feel a lack of confidence yet, just call an expert technician to solve the problems of your lawnmower.
Now, identify the problems, adjust them, and enjoy mowing!
