In this content you’ll learn:
Key Takeaways
- The process to diagnose a bad lawn mower blade includes removing it and checking to see if it’s dull or damaged (meaning you’ll have to replace it).
- The process to replace a bad lawn mower blade includes ensuring it has the right orientation and testing your lawn mower.
- Doing the above steps reduces the chances of damaging your lawn and injury.
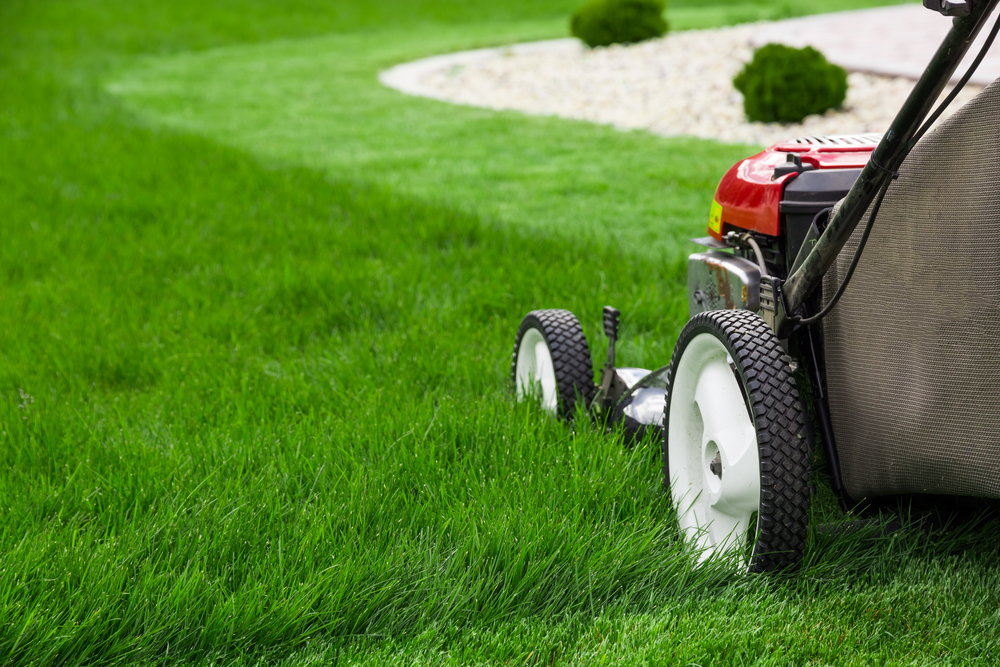
Diagnosing and replacing lawn mower blades is essential to ensure your lawn is perfectly manicured. Sharp blades cut the grass cleanly without damaging the leaf structure or causing damage to the root system. Dull or damaged blades bruise the blades of grass, often leaving them discolored or, worse yet, torn.
Here’s what to do.
How To Diagnose Bad Lawn Mower Blades: Step-By-Step
There are several steps to diagnosing bad lawn mower blades. In general, you’ll want to check your lawn and lawn mower blades every 20 to 25 hours of use. However, sometimes you’ll notice issues and want to take the below steps as soon as possible.
The first step is checking your lawn.
1 – Check Your Lawn
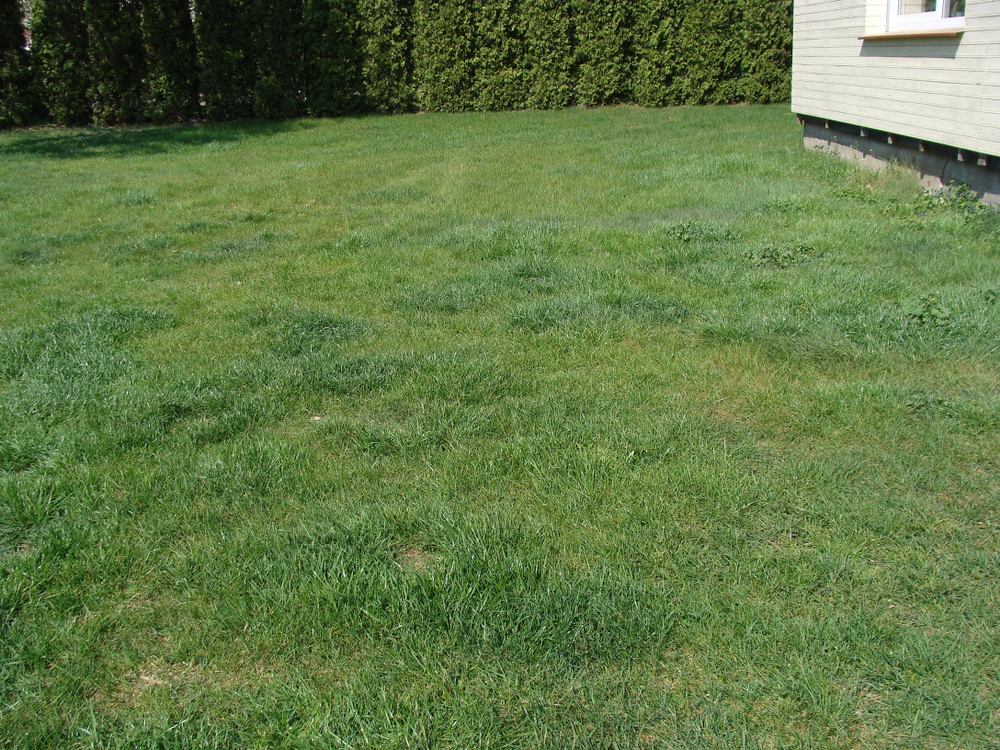
The clearest sign of a dull or damaged lawn mower blade is an uneven or jagged cut. Instead of the lawn surface being smooth and even, it will be bumpy, with areas of half-cut grass and damaged grass blade ends.
The ends of the grass blades should be smooth, with no damaged grass blade below the trimmed end. Dull lawn mower blades bruise the grass, squashing the leaf and leaving the ends torn and ragged-looking.
If you notice these issues, it’s time to check your lawn mower blades.
2 – Get Needed Tools And Materials
Get the following things:
- Eye protection
- Ear protection
- Gloves
- Cloth
- Pliers (for removing spark plug lead if it’s on too tight)
- Gas can (for draining fuel)
- Siphon (for draining fuel)
- Wrench or socket set
- Lawn mower blade removal tool
- Torque wrench (if required by your lawn mower manufacturer)
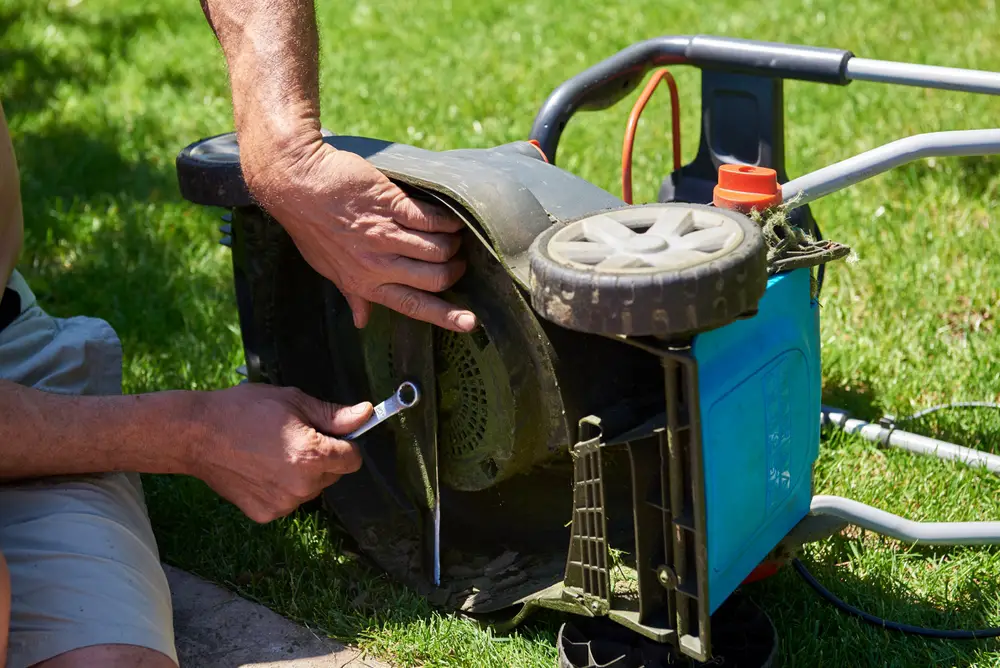
3 – Follow Proper Safety Precautions
Place the lawn mower on a level surface and remove the spark plug lead from the spark plug. Don’t do any maintenance on your lawn mower without first removing the spark plug lead from the spark plug.
You can locate the spark plug lead by looking at the front of the engine, where it covers the spark plug with a thick rubber boot. Pull the lead off the spark plug with your finger or a pair of pliers if it is on tight.
Removing the spark plug lead from the spark plug ensures the lawn mower won’t start up for any reason. This is particularly important, as you will have your hands on the blade.
Empty the fuel tank by running the lawn mower until it stops (if there’s very little fuel left), or disconnect the fuel hose by loosening the clamps holding it onto the carburetor and draining the fuel into a container.
This prevents fuel from running out of the fuel tank when you tip the lawn mower on its side to remove and replace the lawn mower blade.
4 – Check For Signs Of Dull Or Damaged Lawn Mower Blades
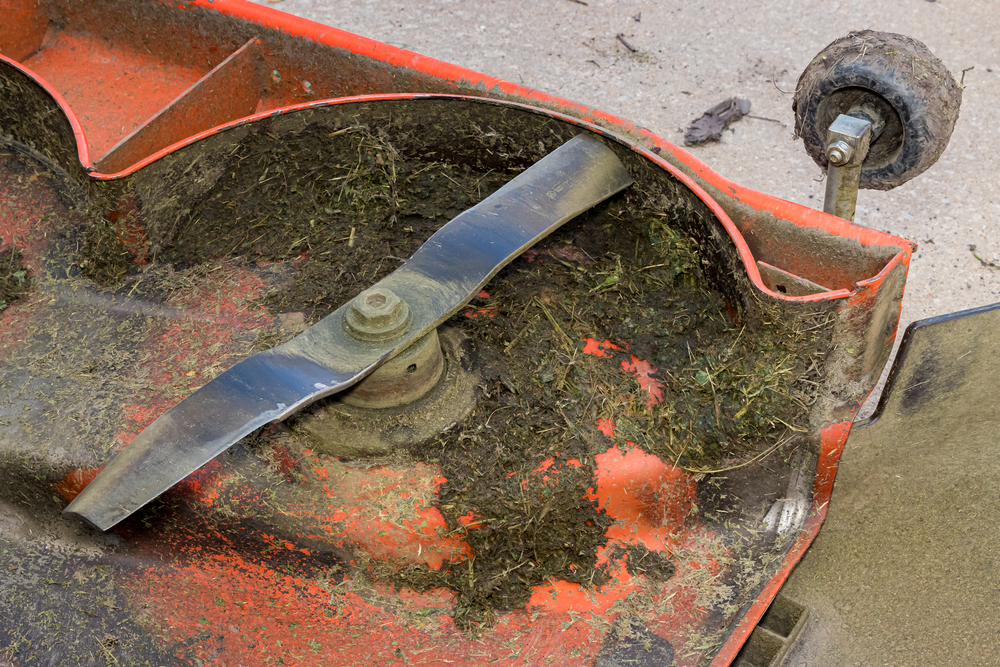
On close inspection of the lawn mower blade, chips, dents, and noticeable damage like a bend or piece missing are sure signs you need to replace it.
You can sharpen your blade, but over time, repeated sharpening will reduce the blade to the point where it will be too thin, resulting in bends in the metal. You should replace a worn-out blade like this since repairing it is impossible.
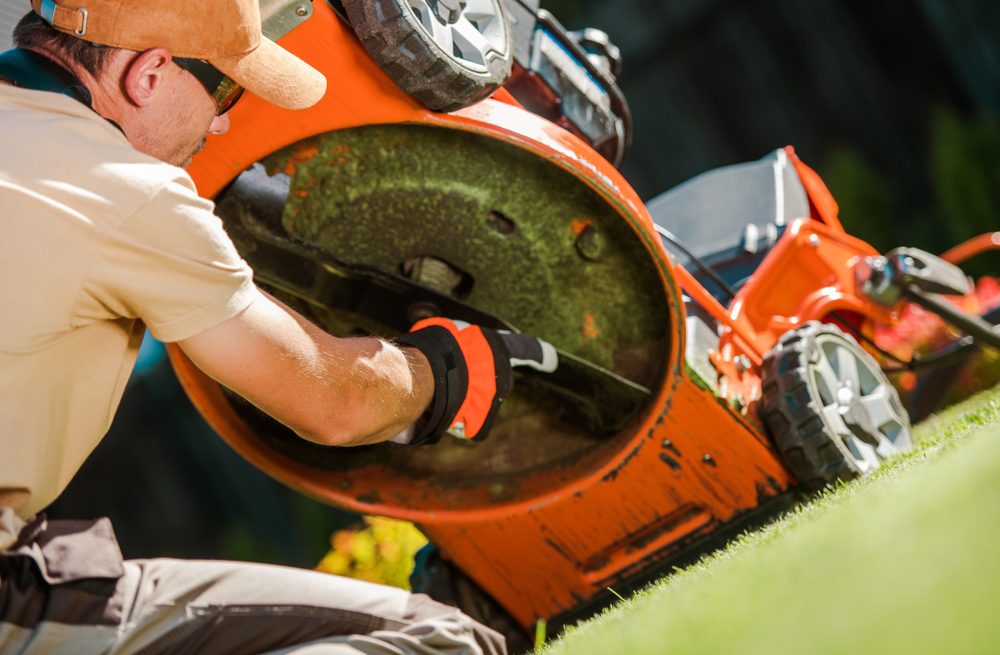
Tip the lawn mower on its side and inspect the blade’s leading edge.
The leading edge has a bevel or angled edge, which should be sharp. You will see nicks and damage to the leading edge on a lawn mower that hasn’t had the blade sharpened or replaced in the last 25 hours of use.
The leading edge will be rounded rather than sharp if the blade is dull. Lawn mower blades should be straight with a slightly twisted edge where the blade is sharpened.
Only the last 3 to 4 inches of each end of the blade is sharp. The rest of the blade body is squared off.
The blade should be straight and flat. Replace the blade if it is bent. A bent blade will cause considerable vibration when the lawn mower is running. This is your first indication of a problem with the blade. You can confirm the blade is bent when doing your visual inspection.
How To Replace Bad Lawn Mower Blades: Step-By-Step
To replace a lawn mower blade, you need to undo the locking nut in the blade’s center.
While it’s possible to sharpen blades while they are still attached to the lawn mower, it is best to do so after removing them
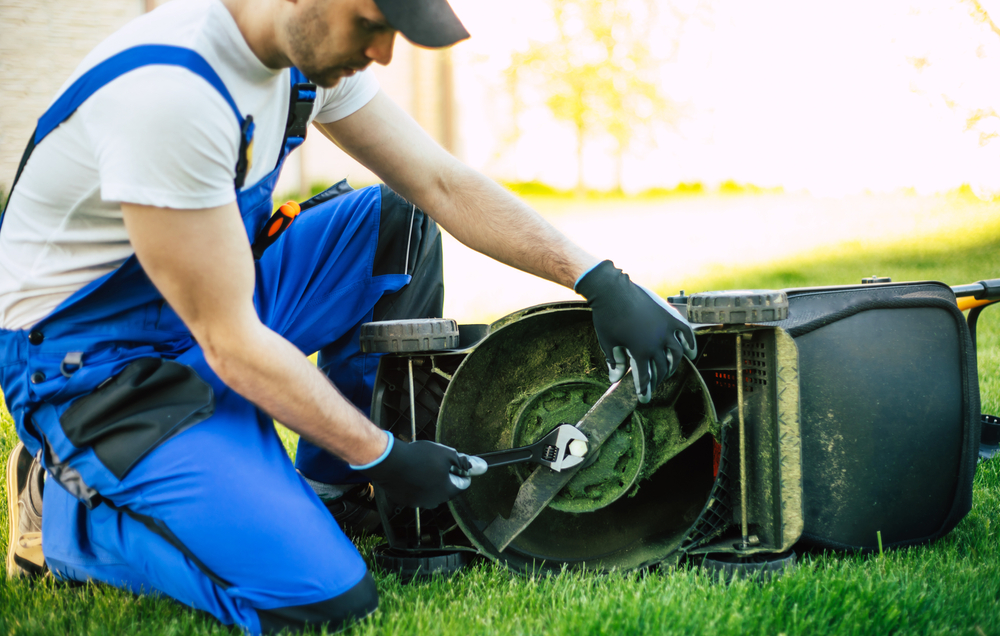
1 – Lock The Blade In Place
Hold the blade in place to prevent it from turning while you remove the lock nut. With the lawn mower tipped on its side, attach the blade locking tool to the blade and fasten the clamp to the lawn mower deck.
2 – Loosen The Blade Locking Nut
Using the correct size wrench, loosen the central locking bolt holding the blade to the spindle.
3 – Remove The Blade
Before removing the blade, take note of its orientation, specifically, which side is facing towards you. This is important. You must replace the blade with the correct side facing you so you don’t inadvertently fix the blade upside down.
You can check the blade orientation by ensuring the beveled surface (the ground, angled cutting edge) of the leading edge faces up when the lawn mower stands on all four wheels.
4 – Replace The Blade
After removing the blade, either take it for sharpening or replace it with a new one if the old blade is worn out.
5 – Fit The New Blade
To fit the new blade, ensure it is in the correct orientation, with the beveled edge facing the lawn mower.
Insert the new blade into the blade locking tool and position the blade hole over the spindle.
Attach the blade-lock nut and tighten it. Use the torque wrench to apply the correct pressure to the blade nut as per the instructions in your manual.
Remove the blade locking tool.
6 – Test Your Lawn Mower
Replace the removed spark plug lead and pour a little fuel into the fuel tank. Start your lawn mower and check that there is no excessive vibration coming from the cutting deck.
Take it for a quick test cut. If it cuts unevenly, you can always sharpen it.
Importance Of Replacing Lawn Mower Blades
The risk of using a damaged or weakened lawn mower blade is two-fold.
Avoid Damaging Your Lawn
Firstly, you risk damaging the lawn. This becomes apparent soon after you’ve finished mowing. The lawn will either develop whitish areas or start to turn yellowy-brown.
The white color comes from the ends of damaged blades, creating long, stringy white tendrils or flattened, bruised ends. These turn white almost immediately, followed by a gradual lawn deterioration.
If the blades are badly in need of sharpening or replacement, the damage to the lawn is more extensive, with the lawn turning yellow and then brown over the next few days. The exposed roots get burned by the sun, and you run the risk of your lawn dying.
Damage to the grass blades also allows pathogens to enter the grass, causing diseases such as rust or leaf spots.
Preventing Injury
A weakened or damaged lawn mower blade becomes a risk to anyone standing nearby.
When cutting grass, the blades spin at around 3,000 rpm, so the end of the blade travels at about 200 miles per hour (320 km/hour). If the blade hits a rock or root, it may break and send deadly pieces of metal flying through the air.
A damaged blade is usually also unbalanced, which can damage the spindle to which it is attached. The vibration damages the bearings and pulleys, potentially causing premature wear and tear.
This will end up costing you more money to fix.
My Experience With Diagnosing And Replacing Bad Lawn Mower Blades
My grandfather was a cabinet maker and carpenter specializing in making wooden, refrigerated rolling stock on the railways. To do his job, he needed extremely sharp tools, specifically planes and chisels.
As a youngster of 8 or 9 years old, he taught me all I know about sharpening blades properly.
On a particularly hot and humid day mowing his lawn with an old-style rotary push lawn mower, he took me aside and showed me the damage I was doing to his lawn. With the sweat running into my eyes, I hadn’t seen how badly I’d torn up the grass. He bent down and showed me the ends of the grass and how they were torn and deformed.
He then turned the lawn mower over and ran his thumb down the dull, rounded edge of the blades.
Once pointed out, it was apparent to my untrained eye that the blade was dull. He took me into his shed, showed me how to file a nice sharp edge on the blade, and then put me back to work.
The difference was immediately apparent. The grass clippings were fine as they sprayed up into the grass box, and the effort to push the lawn mower was noticeably less.
That was my first lesson in keeping lawn mower blades sharp, and I never forgot it.