
In this content you’ll learn:
Key Takeaways
- Knowing how to stripe a lawn with a riding lawn mower gives you the confidence to create a beautiful, healthy lawn each time you mow.
- Striping your lawn with a riding lawn mower begins with buying a striping kit, mowing around your lawn’s border, and then mowing the stripes vertically, horizontally, or diagonally.
- Keep your grass two inches or higher when mowing lawn stripes, always mow your stripes in different directions on future mows, keep your lawn mower blades sharp, and take your time.
Lawn stripes are a great pattern for your lawn, but you may be curious about just how to do that with a riding lawn mower. The good news is it’s just as easy, if not easier in some cases, to mow lawn stripes with a riding lawn mower as it is with a walk-behind lawn mower.
Here’s how to do it.
How To Stripe A Lawn With A Riding Lawn Mower: Step-By-Step Guide

There are only a few steps to stripe a lawn with a riding lawn mower.
The first is choosing your striping kit.
Step 1 – Choose Your Striping Kit
It’s important to note that most riding lawn mowers don’t come with a built-in roller, which is what you’ll need to make stripes. But that doesn’t mean you can’t create this look. You just need to choose the right striping kit.
There are two primary choices: you can buy a ready-made striping kit, or you can make your own. Buying a kit is your best option for convenience.
On the other hand, a do-it-yourself (DIY) lawn striper is a great way to save money.
One of the most common options is using a length of PVC pipe and filling it with sand. Cap the ends and ensure the pipe is the same width as your lawn mower’s cutting deck using a miter saw or hack saw.
Determine how far apart the eye hooks need to be, then drill holes and lock them in place with lock nuts. Attach the hooks to your lawn mower with zip ties, tie it back with some heavy-duty string to avoid it getting under the wheels, and you’re good to go!
Step 2 – Start With A Basic Pattern
I always recommend going for a simple striped design until you get used to this mowing method.
Striping your lawn involves bending the blades of grass in alternating directions, affecting how light reflects off them. This is what gives the patterned effect. Any grass bent away from you will look darker than the blades bending toward you.
Step 3 – Create The Border
Start in one corner of your lawn and mow in a straight line until you reach the next corner. Then turn your riding lawn mower and do the same along the next side until all sides are complete.
I recommend taking the time to lift the roller off the ground as you turn the riding lawn mower, as this will prevent it from pushing down grass you don’t want it to.
You can also implement this step when creating the stripes.
Step 4 – Create The Stripes
Once you’re finished with your border, it’s time to start making your stripes. This straightforward process merely involves mowing up and down the grass in straight lines (overlapping the border). Every time you reach the end of the lawn, turn the riding lawn mower around and mow in the opposite direction, creating the striped pattern.
Tips For Getting The Best Striped Pattern

When creating a striped lawn with your riding lawn mower, knowing the precise method is the most important thing. But if you want long-lasting, vibrant stripes, I also recommend the following tips:
- Sharpen Your Lawn Mower Blades: Dull blades tear the grass instead of neatly cutting it, affecting your stripes’ appearance, and you can always replace your blade if sharpening it doesn’t help.
- Take Your Time: The more precise you are, the better the result.
- Keep Your Grass At A Height Of Two Inches Or Higher: For the grass blades to bend enough to reflect the light and create the striped pattern, they must be longer.
- Mow Stripes In Different Directions For Subsequent Mows: For example, if you started at the bottom left corner of a square lawn and worked your way to the top left, the next time you mow, begin at the top left and work your way down. This is because constantly pushing the grass blades in the same direction can damage them.
Are Riding Lawn Mowers Good For Striping A Lawn?
Riding lawn mowers are much larger than other models, so you may assume they won’t be as effective at creating a striped lawn. However, this is not true. They do just as good a job as other lawn mowers.
Just remember to lift the roller off the ground when making turns. This saves time by removing unnecessary pressure from areas that don’t need it.
Using Zero-Turn Lawn Mowers
Zero-turn lawn mowers make mowing patterns much easier due to their incredible turning ability. This eliminates the need to lift the roller off the grass and reduces your total mowing time.
Creating More Elaborate Patterns
After mastering lawn stripes, it’s natural to want to make more elaborate patterns.
You could create more advanced striping patterns if you wish. For example, you can mow diagonal stripes instead of horizontal or vertical ones.
You could also mow stripes through lawn features such as statues and trees. Doing this means mowing around the feature’s edge until you get back to mowing the original stripe you started. When you mow the stripe next to that stripe, you mow back over the edge, thus making it look like it was never there.
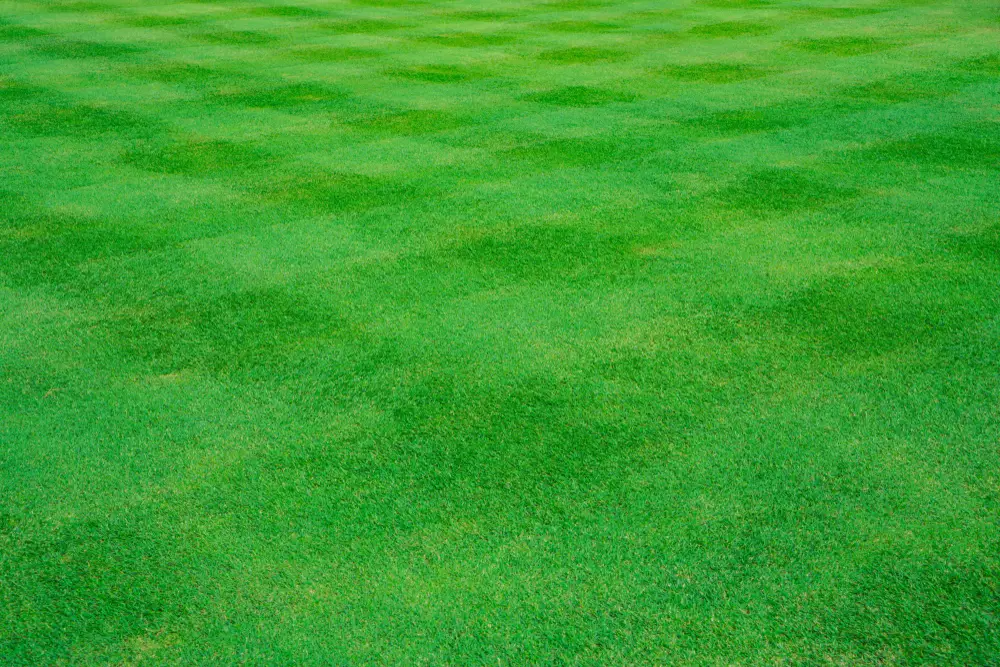
You could also take your striping pattern to the next level with a criss-cross pattern.
This pattern creates a checkerboard appearance and is just as simple as creating stripes.
After you mow your stripes horizontally or vertically, mow a new set of stripes in the other direction.
Alternatively, you could mow the lawn diagonally, starting with very short stripes in one corner, which will get progressively longer as you reach the center of the lawn. Then smaller again as you work your way to the other corner.
You can also use this diagonal mowing method to create a diagonal criss-cross pattern, mowing first one way then the other.