A dull and damaged blade is always a burden for any lawnmower owner. And when the blade of a mower becomes dull it isn’t able to serve its actual purpose.
So, should do you carry dull or damaged blades? Not at all. You should remove the blade and install a new one.
However, when you use a John Deere lawnmower, it’s really worthless to carry the damaged blade. Because the removal process of a John Deere mower blade is simple and you can do it by yourself.
I guess you have no idea how to remove John Deere mower blades. Right? If so, then throw out all of your worries.
Because in this article, you will get the right guideline about the removing process of John Deere lawnmower blades.
So, why late? Let’s see how to remove the blades.
In this content you’ll learn:
The Process To Remove John Deere Mower Blades

If you want to remove the John Deere riding lawnmower blades then basically you don’t need to be worried about the task. Because the removal process is simple and you can do this by yourself. It approximately takes 20-30 minutes to complete the whole task.
Before removing the blades, you need to manage some tools that will make the task convenient for you. Let’s have a look at the tools that you need to use for removing the blades.
Required tools:
- A new blade
- A socket wrench
- Small pieces of wooden blocks
- A hydraulic jack
- Hand gloves
- Goggles
You are all set now. Let’s see how to remove the blade. Follow the step by step guideline to remove the blade in an easier way.
Steps to follow:
Step #1: Prepare The Lawn Mower For Removing Blades
Take your lawnmower into an even surface and engage the mower parking blade. Remove the mower spark plug and turn the ignition switch off. Remove the key from the ignition switch.
Step #2: Use Hydraulic Jack To Lift The Mower
Now raise the lawnmower deck into its highest position. Basically I recommend you use a hydraulic jack to raise the mower. Because sometimes you need to remove the whole deck for removing and replacing the blades. It’s quite a tricky task to remove the deck and install it again.
Using a hydraulic jack will really make your task easy and convenient. Just place the jack under the one side edge of the mower deck and push the handle of the jack to set the right height. It will help you to access the mower blade in a facile way.
Step #3: Place A Wooden Block Diagonally
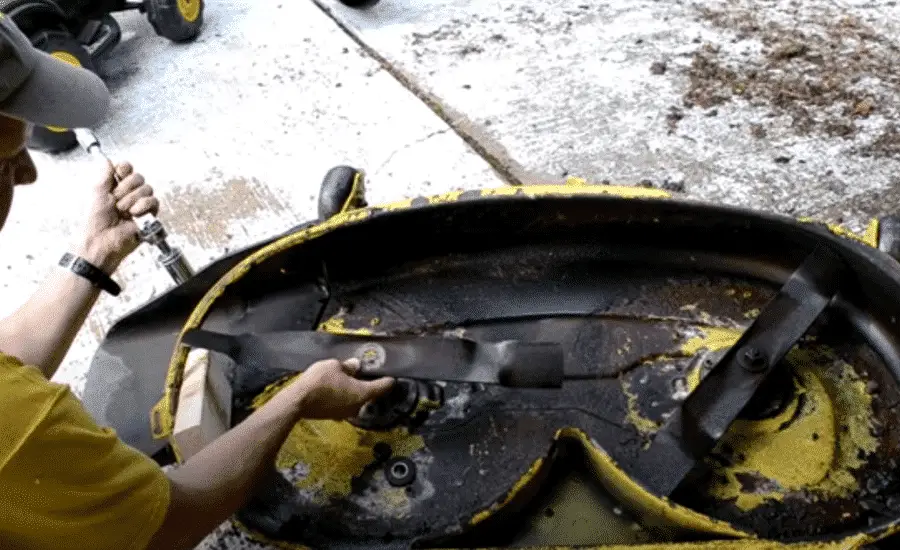
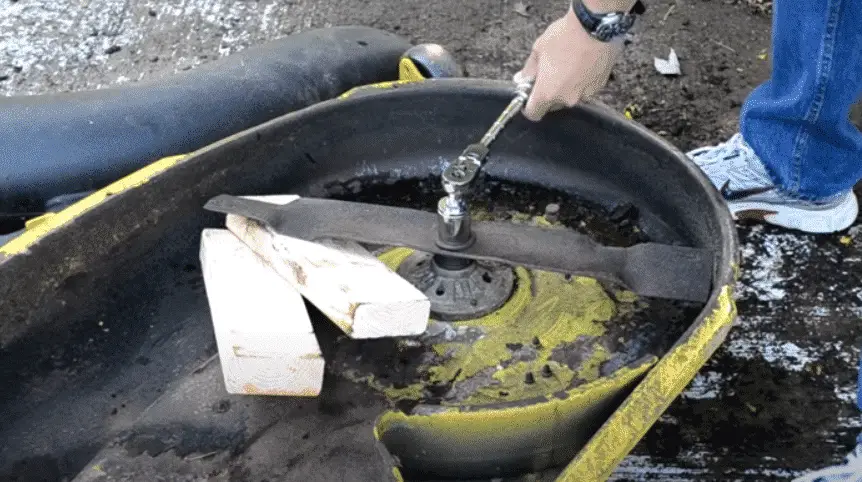
Place a piece of a wooden block under the blade diagonally to stop the rotating of the blade. Turn the blade until it properly contacts with the wooden block.
Step #4: Remove the Blade Center Nut
Take the socket wrench and place it into the center net of the blade. Rotate the wrench counterclockwise to remove the center nut. After removing the nut, remove the washer also and place the nut and washer in a safe place for reinstallation.
Step #5: Remove old Blade
Bring out the mower’s old blade from the spindle shaft. Keep the blade in a safe place to avoid any kind of unwanted injury.

Step #6: Install New Blade
Now it’s time to install the new blade. Take the new blade of the mower and place it into the spindle shaft of the mower. Replace the washer and center nut into their previous position. Block the blade with the wooden piece and use the socket wrench to tighten the nut by rotating it clockwise.
That’s all about the removing process of John Deere mower blades.
Tips
- Sometimes John Deere riding lawnmower carries two blades. If you have two blades in your lawnmower, then follow the same process to remove the other blade from your mower.
Cautions
- Always wear hand gloves when you deal with the blades of the mower.
- Don’t touch the sharp side of the blade in a bare hand.
Final verdict
So, can you remove the blades of your John Deere lawnmower at home? I guess you can. Because removing blades actually is not a troublesome task.
Following the above-mentioned process and cautions will help you to complete the task without facing any difficulties.
Hopefully, this article has helped you to know how to remove John Deere mower blades.
Now, remove the blade, install a new one, and enjoy mowing!
