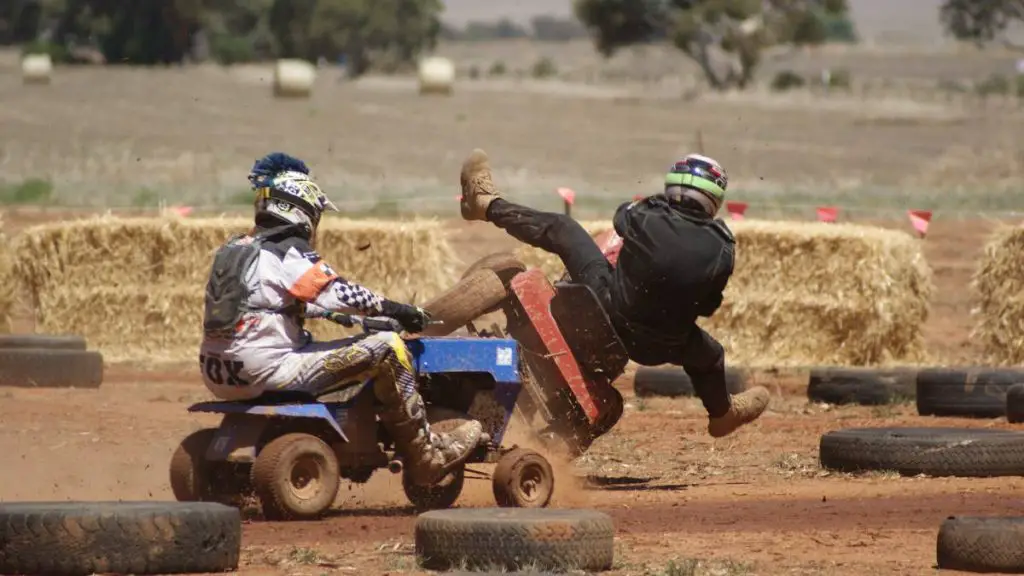
Ernest Hemingway, a famous sportsman mentions auto racing as the only real sport and calls the others as games. Do you think so and plan to build a racing car that makes you a real sportsperson?
I know you have a great desire to have an aracing car. But you know building a racing car is too expensive and needs more skill to do that.
Will your dream end here then? No way. Think of the alternative way. Yes, you can turn your lawn mower or lawn dethatching machine into a racing mower!
From 1968, people have been practicing this and joining a world-class lawn mower racing competition. You can even take the lawn mowers engine and use it for simple racing, such as building a Go Kart.
Now, the fact is, do you know how to build a racing lawn mower? If your answer is even no, nothing to worry about.
We are here to give you the proper guidelines. Trust me, you can do this at home by yourself.
So, why delay? Let’s start the journey of fulfilling your dream.

In this content you’ll learn:
The Process To Build A Racing Lawn Mower
Are you ready for building a racing lawn mower? Not at all. You know before starting any work you need some equipment that is needed to complete the task.
When you are planning to build a racing lawn mower, first you have to gather all the tools. Let’s see what tools and materials you will need to build a racing lawn mower and making your lawn mower faster.
The tools required:
- Engine
- Engine set up component
- Centrifugal clutch
- Hydraulic brake system
- A steering wheel
- Front and rear axle
- Chain
- Transmission
- Front and rear wheels
- Fuel tank
- Electrical equipment
- Hand gloves
- Googles
- Tire Sealant
I think you are ready now. Let’s get started.
Steps to follow:
Step #1: Building a Strong Frame
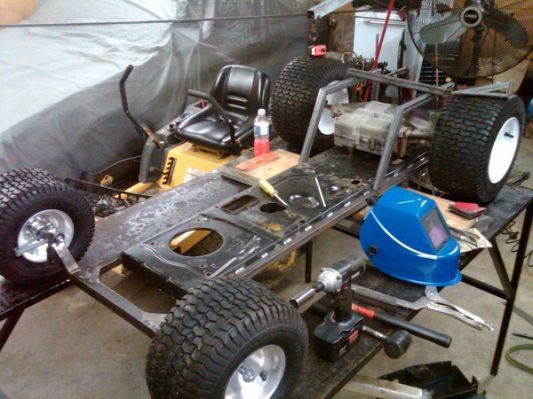
We will first look at building a frame. Usually, lawn mowers always have a built-in frame. But when you build a lawnmower for racing purposes, the frame needs to be stronger to take the high-speed load.
The existing frame of the lawn mower can’t be able to take the load. So, add additional metal pieces with the existing frame to make it stronger. Weld the additional metals with the mainframe of the mower.
The shape of the frame depends mainly on the shape of the wheels you want to use. But there is no need to keep too much distance between the mower and the ground. If you place it 4 feet above the ground, you can easily drive the mower.

Step #2: Setting up the Steering System
If you want to win the race, you need a strong steering system. Set up a direct steering system. Connect the steering wheel with the front wheels. Direct steering will help you to drive the mower easily.

Step #3: Install the Internal Components
Now, it’s time to set up the internal components.

- At first, install the transmission with the mower.
- After that, set up the hydraulic brake. You know there are two types of brake found in the market. One is mechanical and the other is the hydraulic brake. Hydraulic brakes are more suitable for the racing mower. You can easily install it rather than the mechanical brake.
- Now, weld the mower deck with the mainframe of the mower. Wait a while so that the mower deck clings tightly to the frame.
- Install the battery under the deck and complete the electrical connection.
- Install the puke tank now. It is developed to carry the engine. It is also able to fend oil leakage in the time of racing.
- You need a seat to drive the racing mower. It should be comfortable for your easy driving. Usually, people use school seats but without legs. If you are a people who love comfort, then you can use any one of the old car foam wrapped seats.
- After setting the seat, it’s time to install the engine. We recommend you to use 12 horsepower (HP) Briggs and Stratton engine. This is the most used engine for the racing mower and really inexpensive. Try to purchase the updated version of the engine. Place the engine in the engine shroud.
- Place the battery underneath the seat and connect the battery with the engine.
- Attach a chain between the engine and the rear wheel. It will help you to drive the mower easily.
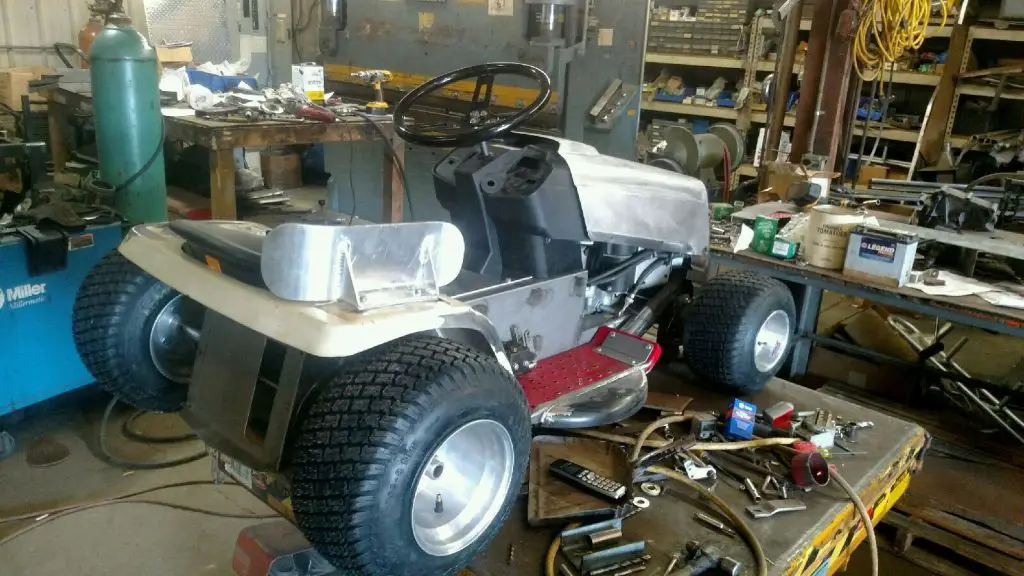
- Now, get ready to give your mower a new look. It’s time for painting the mower. Before painting, clean up the mower as it gets dirty after welding. Light and the eye-catching colors are always suggested.
- After painting, install the front wheel to give the mower the final look. Check all the connections and internal components carefully.
Done! Now your lawn mower is ready to reign on the racing track.
Cautions:
- Wear hand gloves and goggles in time of welding.
- Carefully set up the engine and the battery.
- Complete all the necessary electrical process according to the user manual of the lawn mower.
Final Verdict:
If you are a racing lover person but don’t have enough skills to build a racing car, you can build a racing mower to fulfill your desire. And you know building a racing lawn mower is not a much difficult task.
I hope following the above-mentioned process has helped you to understand how to build a racing lawnmower. But keep in mind, if you don’t have enough confidence and skills about that, don’t try this at home.
A faulty electrical connection or a simple mistake can bring a big disaster. So only try it when you are enough confident. And don’t forget to take essential safety measures.
