In this content you’ll learn:
Key Takeaways
- The best mowing patterns are striped, checkerboard, crossed diamonds, waves, the zig-zag, and circles.
- Lawn art requires more work but is another excellent option for a mowing pattern.
- Achieving any mowing pattern requires time, effort, and practice, but doing so means a great-looking and healthy lawn.
Looking for an excellent mowing pattern to set your lawn apart? There are many to choose from, but just what are the best mowing patterns? And how do you achieve them?
A Complete Guide To The Best Mowing Patterns
When creating a mowing pattern, the only real limit is your imagination. As long as you’ve got the skill and planning, there’s no reason you can’t create something beautiful and unique.
However, there are some patterns many consider “the best.” In this guide, I will give you some simple tips on how to create them, so you can consistently elevate the look of your lawn.
The Striped Lawn

Many associate the striped lawn with bowling greens and manicured gardens. Like the checkerboard pattern, it’s easy to create.
How To Do It
Start somewhere on your lawn that has a straight edge (along the driveway or fence is ideal). From there, start mowing in a straight line. Once you reach the end of the lawn, turn and mow alongside the first stripe in the opposite direction.
Begin at one corner with a clear straight boundary, allowing you to create more uniform lines. You can also mow a single stripe around the edge to create a border, although this isn’t necessary.
Checkerboard
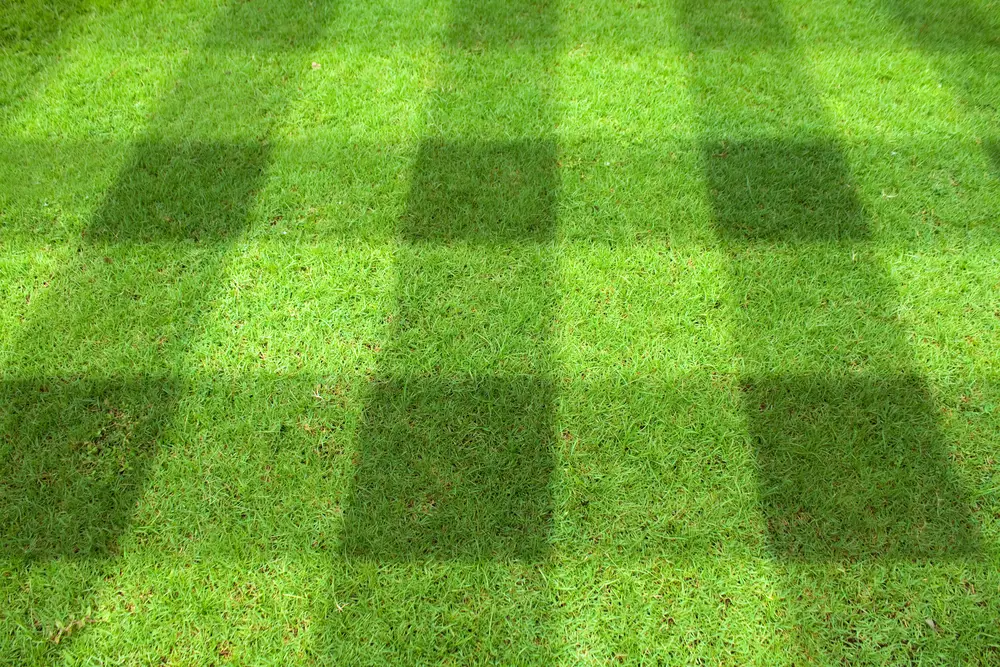
The checkerboard pattern is one of the most traditional. It’s a timeless look that’ll never go out of fashion, and it’s easy to create.
How To Do It
Start with the same steps for creating a striped pattern.
When you have mowed a striped pattern across the entire lawn, it’s time to do the same at a 90-degree angle. So this time, start in the same corner you did before but mow horizontally instead of vertically.
To remain in a straight line while you mow, focus about ten feet ahead of you rather than looking at the grass directly in front of your lawn mower.
Crossed Diamonds
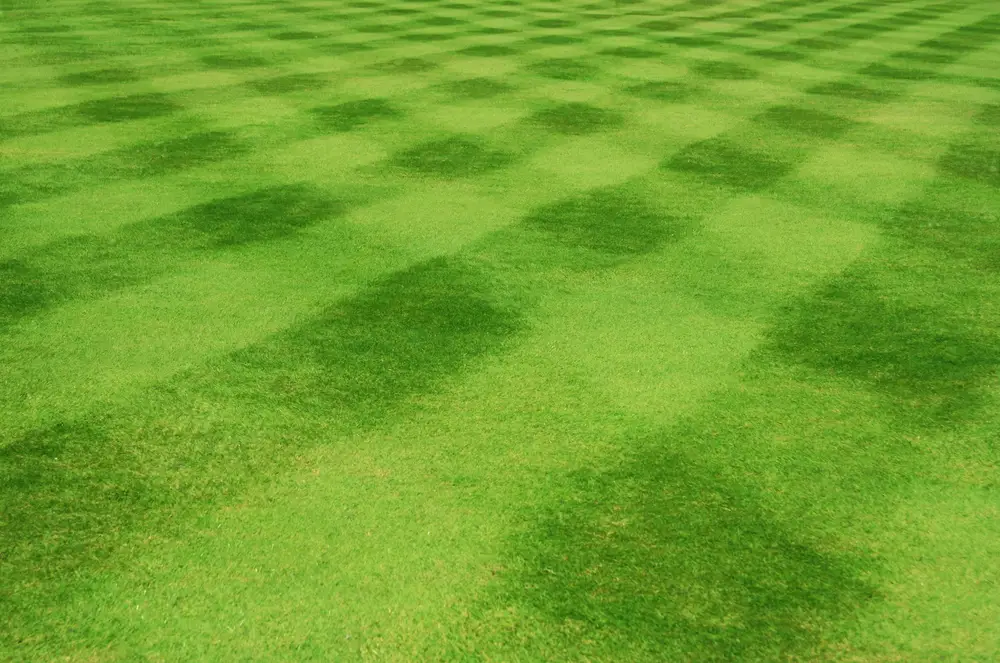
If you like the idea of the checkerboard lawn but want something a little more modern, go for the crossed-diamond pattern (also called the crisscross pattern).
How To Do It
The process is very similar to the checkerboard pattern, but instead of mowing horizontally and vertically across the lawn, you’ll go in diagonal lines.
To ensure the pattern is even, begin in the center of your lawn rather than the edges. This will mean you need to measure the lawn to pinpoint the center. Once you know where it is, you can place a small marker for next time.
After creating the first set of diagonal lines, you’ll need to mow diagonally in the opposite direction to create those diamond shapes.
Waves
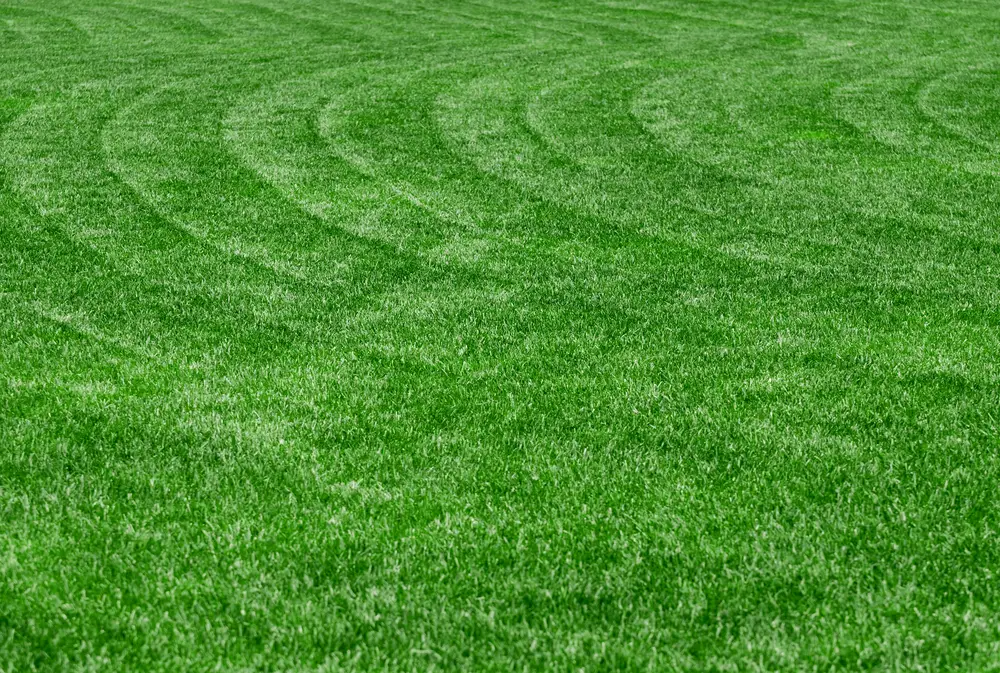
A wavy pattern is a great way to draw attention to an otherwise plain lawn. Moreover, how the light reflects off the grass blades creates a ripple effect that almost resembles water.
The waves pattern is a little more challenging than some of the patterns I have discussed so far, but you’ll get it with some practice.
How To Do It
The process is similar to creating stripes, but instead of going in a straight line, you’ll need to gently turn your lawn mower as you move, creating a wavy line. Once you’ve made the first wave, you can use this as a guide to complete the following ones.
It’s essential to keep in mind that you don’t need to turn your lawn mower dramatically. In fact, the more subtle the turn, the more the waves will have a natural flow.
The Zig-Zag
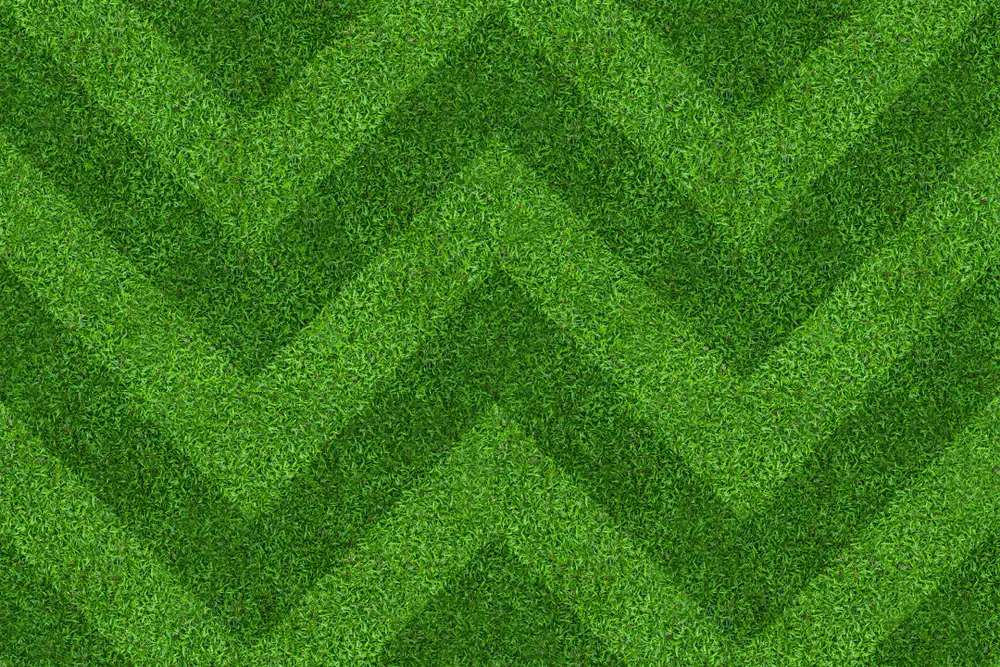
The zig-zag pattern can be a real talking point for your lawn, and it’s not as challenging to create as you might first think.
How To Do It
Begin at the edge of your lawn and mow diagonally, making a 180-degree turn to create the first point of your zig-zag. It’s up to you how dramatic or subtle you’d like to make each zig-zag; after all, there’s nothing wrong with showing your personality in your mowing!
Once you have created your first zig-zag, you can follow this to make the remaining lines.
Circles
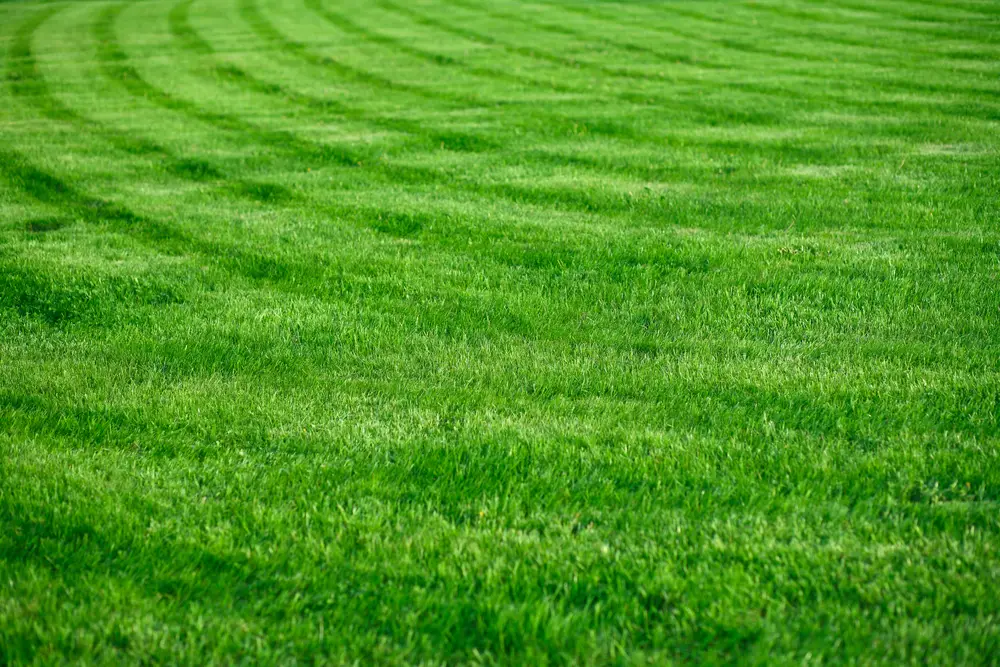
There’s something about a circular pattern on the lawn that really catches the eye. It’s still a classic pattern that doesn’t look out of place in a manicured garden but feels more creative.
Mowing in circles is also very easy and ideal for homeowners with trees or other ornamental features on the lawn, as you can easily mow around them.
How To Do It
Begin in the center of the lawn and mow a tight circle. Switch the lawn mower off and move it directly outside the first circle before mowing around it in the opposite direction. Keep repeating this process until you reach the edge of your lawn.
The circles pattern is one of the most time-consuming, but the results will be spectacular, so it’s well worth the time investment.
Creating Lawn Art
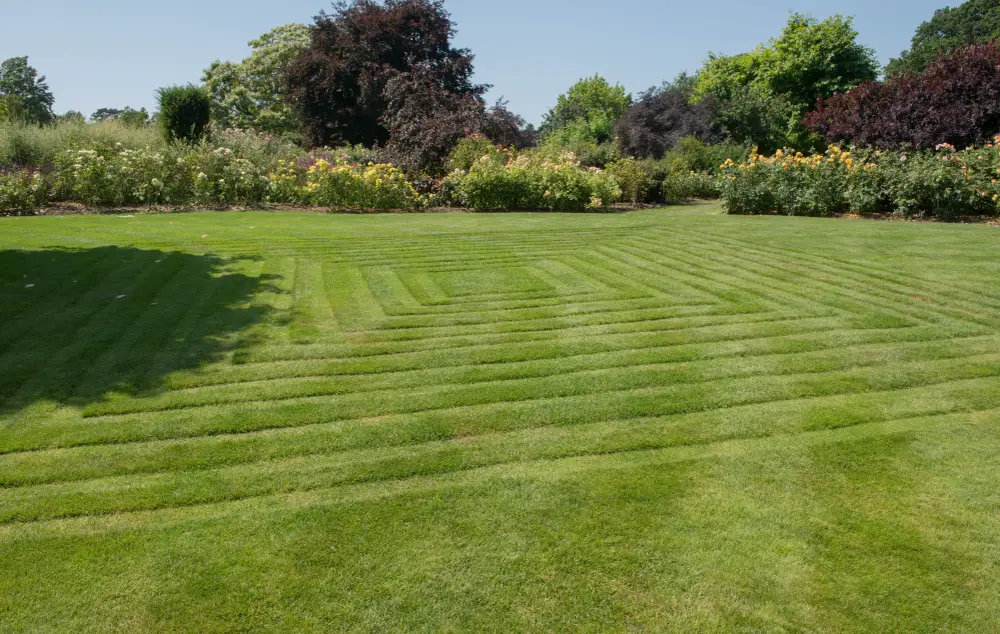
Once you’ve gotten the hang of some of the best mowing patterns, you might want to try your hand at something a little more complicated (and rewarding), such as lawn art.
Lawn art isn’t just for professional gardeners, either. There’s no limit to what you can create in your own backyard with enough effort, practice, and creativity.
Before you do anything, though, I recommend some careful planning. While your lawn will quickly grow back, and you can try again, it’s always better to get it right the first time. Look at the space you have and research some ideas for inspiration. If you’re naturally artistic, you might even be able to come up with your own patterns.
Another thing to consider when creating lawn art is the height of the grass. Longer grass will reflect light better and create a much more intense look. However, for some patterns, you may even wish to mow some grass higher than others for an even more accentuated look.
But a word of caution; you’ll invest a lot of time into creating your pattern, and if you want to maintain it, you’ll need to keep mowing it. I’d recommend touching up the pattern at least once a week. However, if you want it to be even more noticeable, there’s nothing wrong with a twice-weekly touch-up!
Moreover, the more often you mow it, the more the pattern will set. Eventually, you’ll have to do less work to maintain it.
Things To Consider When Choosing A Mowing Pattern

The most important thing to consider when choosing a mowing pattern is your preference. There’s no point in creating a lawn pattern you’ll hate every time you look at it. But there are a few things to consider before you settle on a design.
Should You Use A Lawn Mower With A Roller?
Some lawn mowers come with a roller. This tubular attachment is usually on the underside of the mower deck, towards the back. As you move the lawn mower over the grass, the roller forces the blades down, which helps establish a pattern.
If your lawn mower doesn’t have a rear roller, buying an add-on kit (Toro’s, for example, which also needs sand for weight) will have the same effect.
But do you really need a roller to create a patterned lawn?
I’ll be real with you, a roller is the best and most straightforward way to create lawn art, but it’s not 100% necessary. The weight of your lawn mower will be enough to bend the blades of grass so they catch the light just the right way.
Moreover, it’s also possible to hand-push the grass down to further intensify the pattern. Of course, this will mean a lot more work on your part, but it is an option.
How Long Is Your Grass?
A lot of people like to cut their lawns very short. They think this will mean less frequent mowing and create a more manicured look.
However, short grass isn’t always the best option when creating a mowing pattern. In fact, the longer the grass, the more the blades will bend, and the more the pattern will be visible.
I’m not suggesting you should have ridiculously long grass, but using a higher cutting height ensures you achieve the best finish.
Generally speaking, between 2.5 and 3.5 inches is best for lawn art.
Do You Have Warm- Or Cool-Season Grass?
Your grass type can affect how intense your mowing pattern is. For example, warm-season grasses like Zoysia and Bermuda don’t bend as well as cool-season grasses. This means that while you can still create a mowing pattern, it won’t be as visible.
Rye, fescue, and bluegrass are some of the best cool-season grasses for creating striking mowing patterns.
Handling Grass Clippings
When creating mowing patterns, the last thing you want is messy clippings all over the lawn. For this reason, I recommend using your lawn mower’s bagging system if it has one.
However, I recommend a side discharge chute if you need another way to mow. This places the clippings neatly along the side of your lawn mower, making them easier to clean up than using a rear discharge chute.
Why Do Mowing Patterns Matter?
Having a mowing pattern creates a totally different look for your garden. Moreover, you can constantly change the look if you get bored of it. Just let your grass grow out and start a new pattern.
But looking great isn’t the only benefit of using mowing patterns. In fact, this is a fantastic way to keep your lawn in tip-top condition.
When you mow your lawn, the weight of your lawn mower presses down on the grass. If you keep mowing in the same direction every time, this can put stress on the grass, which may eventually thin out, and you could end up with bare patches.
In addition, that heavy lawn mower can also compact the soil, so mowing in different directions means the same areas won’t be continuously exposed to this. Compacted soil is not conducive to a healthy lawn, as the densely packed soil can make it more difficult for water to get through.
