
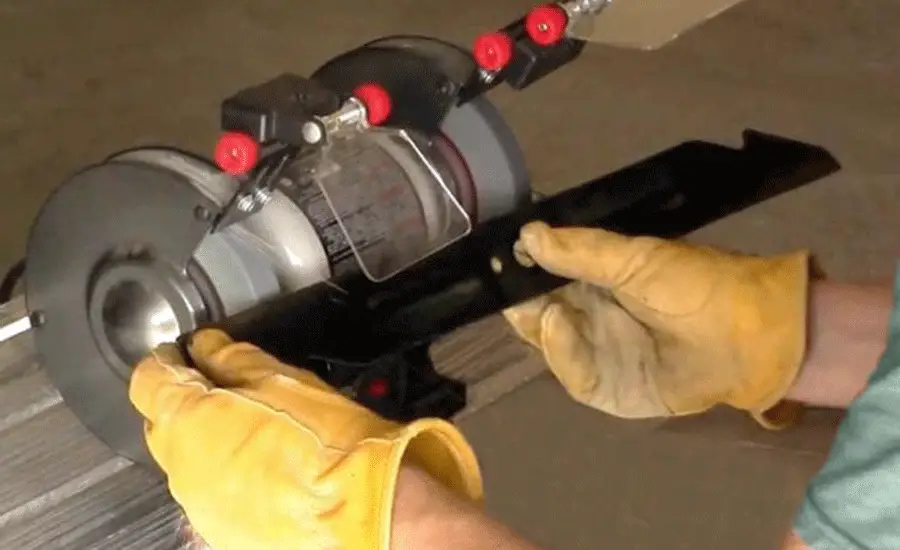
A lawn mower blade is responsible for the beautiful lawn you have. However, once these blades become dull, the cut of your grass will look uneven. The solution is changing the blade or sharpening it so that you can maintain a fresh-looking lawn. Amongst the several methods for sharpening lawn mower blades, using a grinder is the easiest.
Today we will outline a step-by-step guide for how to sharpen lawn mower blades with a grinder. This article will cover how to remove the blade from the mower and how to sharpen the blade afterward.
Let”s have a look at the procedure.
In this content you’ll learn:
How To Sharpen Lawn Mower Blades With A Grinder?
To sharpen the blade, first, you need to detach it from the lawn mower. You have to gather some tools to do that. The tools needed are:
Arrangement
Firstly, ensure the mower is shut off and place the mower on a flat surface. Remove the ignition wire connection or the power cord if you have an electric mower. Then put a plastic bag under the fuel tank cap to avoid any spillage.
Removing the blade from the lawn mower
The blade is placed under the lawn mower. So, first, wear working gloves and tip the mower on its side, if it is a push lawn mower. You can use a hydraulic jack for riding mowers to raise it and keep it in an elevated position.
Put the clamp on the rotational path of the mower blade to keep it static while unscrewing the bolt. Be careful about your hands. If you do not wear work gloves, your hands will be at risk of accidents due to the blade’s sharp edges.
Unscrew the fasteners that connect the blade to the mower. If the bolt is stuck tightly and not rotating, use some penetrating oil and keep it for about an hour. Then it should come off easily. Now remove the blade from the mower body.
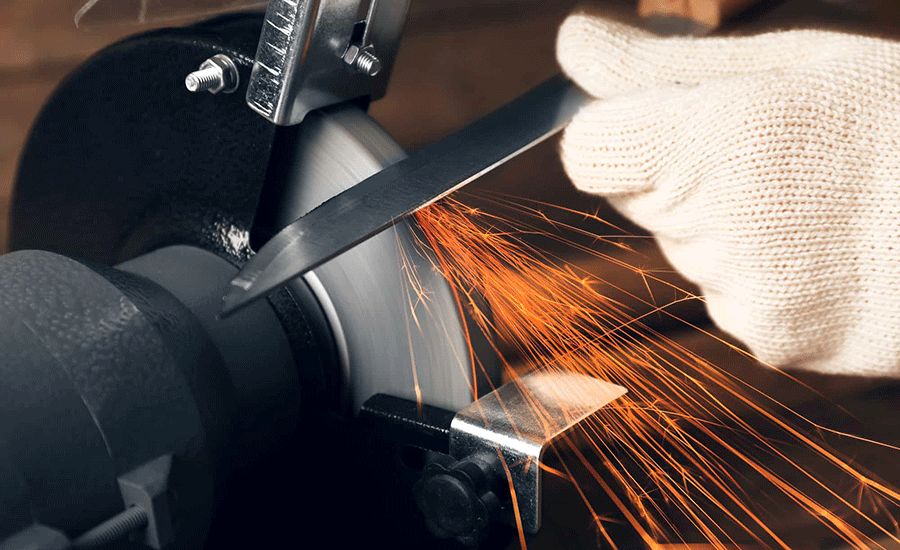
Sharpening the blade using a grinder
As this process involves sharp-edged material and rapidly rotating machines, it’s important to follow the necessary safety precautions.
Precautions
- Before starting the sharpening process, wear safety glasses. Prepare yourself by wearing a face safety shield and hearing protection.
- Using a long sleeve shirt will help you to avoid the sparks from damaging your skin.
- Now you have to arrange the blade on your workbench using a clamp.
Procedure
Try to match the grinder disk with the pitch of the mower blade. Then do one or two passes on the blade with the grinding disk. Now stop and take a look at the blade.
If the blade pitch is shiny at the top, you are grinding with too flat of a pitch. Then again, if the blade edge is polished at the bottom, you have pitched the grinder disk too steep. If the shine is equal everywhere, then your process is okay.
So, your target is to get the same shine on each portion of the blade. This is the way to validate that you are doing the sharpening correctly. When the blade is pitched evenly, you can finish the edge sharpening by following the same grinding and checking procedure.
Try to align the grinder disk with the edge angle and grind it with a back and forth motion. Check the result frequently to avoid flattening the edge. Be careful with the edge when you finish because the finalized edge will be razor-sharp.
Final Finish
The grinder removes some metal off of the blade. This is what makes the edge sharp. After sharpening the edges, you will find a thin layer of extra metal on the blade’s edge.
At this point, you’ll need to get rid of that. For this, you will require a sharpening file. This is the final step to ensure that your mower blade is perfectly sharpened.
To do this, remove the blade from the clamp and flip it upside down. Clamp the blade on the workbench again. Now move along the blade with an inward motion from the edge of the blade. This should diminish the leftover thin metal portion from the blade. This final step does not take much effort.
Replace the blade on the mower
After you are done with the sharpening process, now it is time to put it back on the mower. Keep your work gloves on, the blade is now razor-sharp so be careful while placing it back on the lawn mower’s body.
Place the sharpened blade on the mounting area and loosely attach the bolts to keep the blade in place. Use the clamp again to stop the blade from rotating when tightening the bolt. Now with the wrench, tighten up the bolt.
Remove the clamp, and your lawn mower is ready to make your lawn beautiful again.
What to do with a bent blade?
One thing you should know: do not sharpen a bent blade. We know that a lawn mower blade rotates at a very high velocity. Once there is a bend in the blade, it will not spread its weight evenly on the spindle. As a result, it will create turbulence on the mower’s frame, and eventually, the blade can break apart. Using a bent blade will be very dangerous.
Conclusion
Sharpening a lawn mower blade is easy and quick. You just have to be careful not to grind the edges more than required. If you flatten the edges too much, the blade will actually become less sharp.
This DIY technique on how to sharpen lawn mower blades with a grinder is the easiest among all other methods and will absolutely solve your problem of a dull blade.
Mowing your lawn with a dull blade is frustrating and puts more pressure on the engine. To avoid these issues, sharpening or changing the blade is the best solution.