In this content you’ll learn:
Key Takeaways
- Sharpen lawn mower blades with an angle or bench grinder.
- Sharpen lawn mower blades every 20 to 25 hours of use.
- A sharpened lawn mower blade keeps your lawn and lawn mower healthy.
Sharpening lawn mower blades takes only a little bit of practice. Doing so means returning your lawn mower blades to their original sharpness, saving yourself money, and keeping your lawn and lawn mower healthy.
Here’s how to do it.
How To Sharpen Your Lawn Mower Blades: Step-By-Step Guide

Before you start sharpening your lawn mower blades, it’s best to gather what you need, then follow some basic safety precautions.
1 – Gather Needed Tools
To sharpen your lawn mower blades, you’ll need the following:
- Safety goggles
- Work gloves
- Ear protection
- Mask
- Cloth
- Hand file
- Bench grinder (if sharpening with that tool)
- Angle grinder (if sharpening with that tool)
- Grinding wheel dressing tool
- 60-grit or 80-grit flap discs or a hard disc
- And a bench vise or large G-clamp to hold the blade steady (for an angle grinder)
- Lawn mower blade balancer
2 – Follow Proper Safety Precautions
Make sure your work area is free of flammable materials, especially fuel. When grinding a bevel on your blades, the sparks you create can easily ignite fuel, cloth, or paper.
Inspect your angle or bench grinder to ensure there are no loose nuts or damage to the grinding wheel that could cause it to break or explode.
Adjust the guards on your grinder, ensuring they are set correctly with the correct clearance.
Make sure you use your safety goggles to avoid metal shards entering your eye while grinding.
I also highly recommend you wear ear protection, as the loud noise from extended grinding can damage your hearing.
3 – Prepare For Blade Sharpening
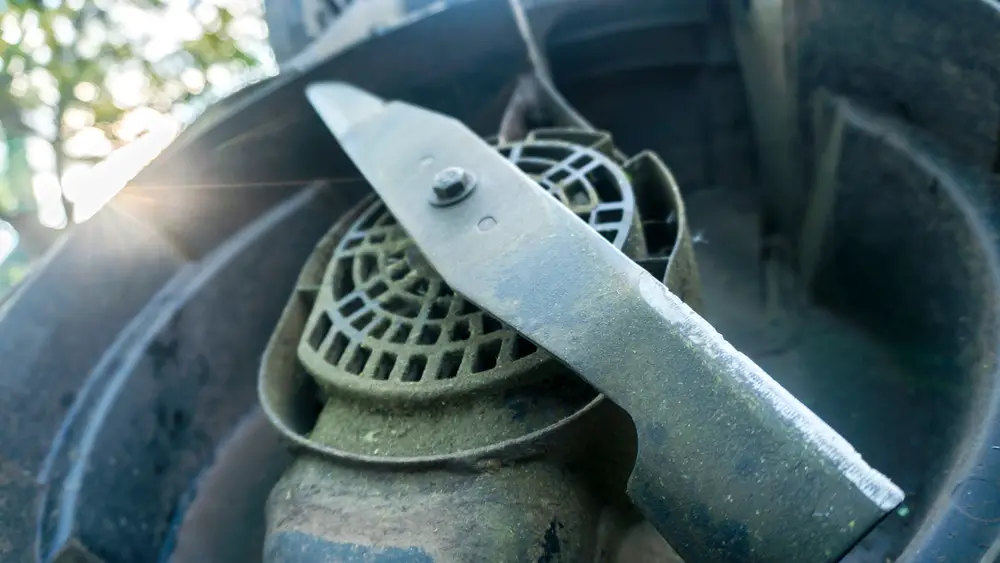
Before sharpening a lawn mower blade, check to see whether the blade is bent or warped. To do this, look along the length of the blade to see if there is any deviation from a straight line.
If the blade is warped or bent, replacing it with a new one is best, as the vibration it will cause can damage your lawn mower bearings and drive pulleys.
4 – Sharpen The Lawn Mower Blade
There are several steps to sharpening a lawn mower blade. Taking them in order is essential.
The process begins with determining your lawn mower blade’s type and grinding angle.
1 – Determine The Type Of Blade And Grinding Angle
Lawn mower blades come in two distinct types: standard and mulching. Standard blades are usually straight with a slightly longer cutting edge on each end than a mulching blade. Mulching blades have numerous curves, with the center section higher than the two outer cutting sections.
Both lawn mower blades are flat or slightly curved on the bottom with a 30- to 35-degree bevel on the top edge.
The bevel is the angled edge of the blade giving it its sharpness. It’s essential to keep the bevel the same along the length of the blade.
The cutting edge is only 3 or 4 inches at each end of the blade.
2 – Set Up The Grinder For Sharpening
Bench grinders have tool rests. Tool rests are the little pieces of angled metal on the front of the grinder where you can rest your lawn mower blade. The tool rest shouldn’t be more than an eighth of an inch from the grinding wheel, which prevents anything from being sucked into the gap and getting stuck.
You need a diamond dressing tool to ensure the bench grinding wheel is perfectly straight. By holding it against the wheel as it turns, the tool scrapes across the wheel’s surface, grading the wheel surface so it is perfectly true across its entire face.
A true edge is perfectly straight and flat, grinding the blade evenly across its entire surface.
While doing this, you should wear a dust mask so you don’t inhale any dust from the stone and eye protection to prevent any pieces from hitting your eyes.
You can start sharpening your blade once the wheel is true.
3 – Sharpen The Blade
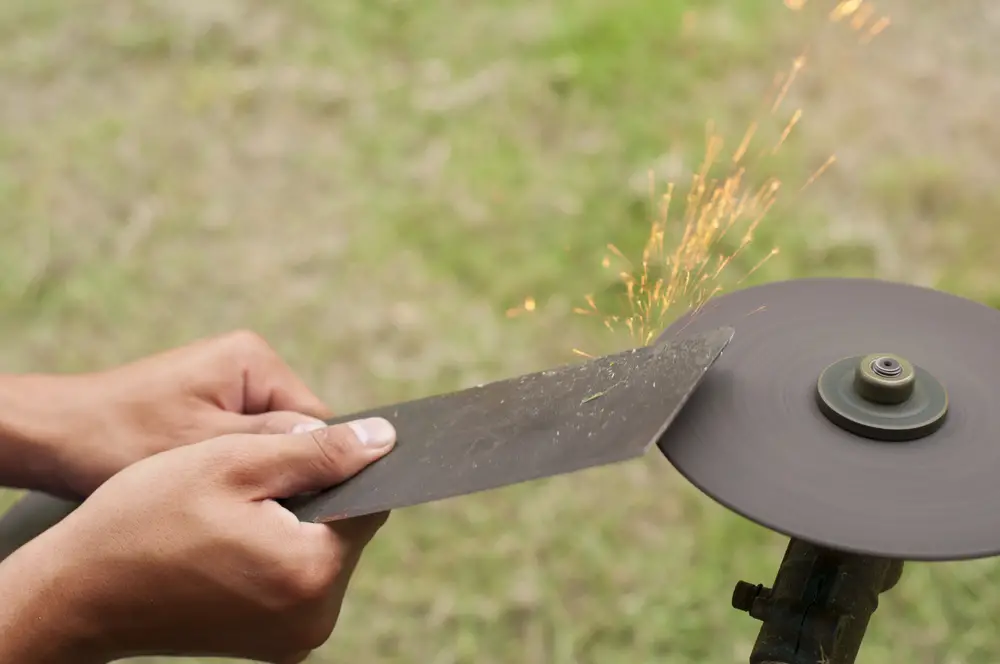
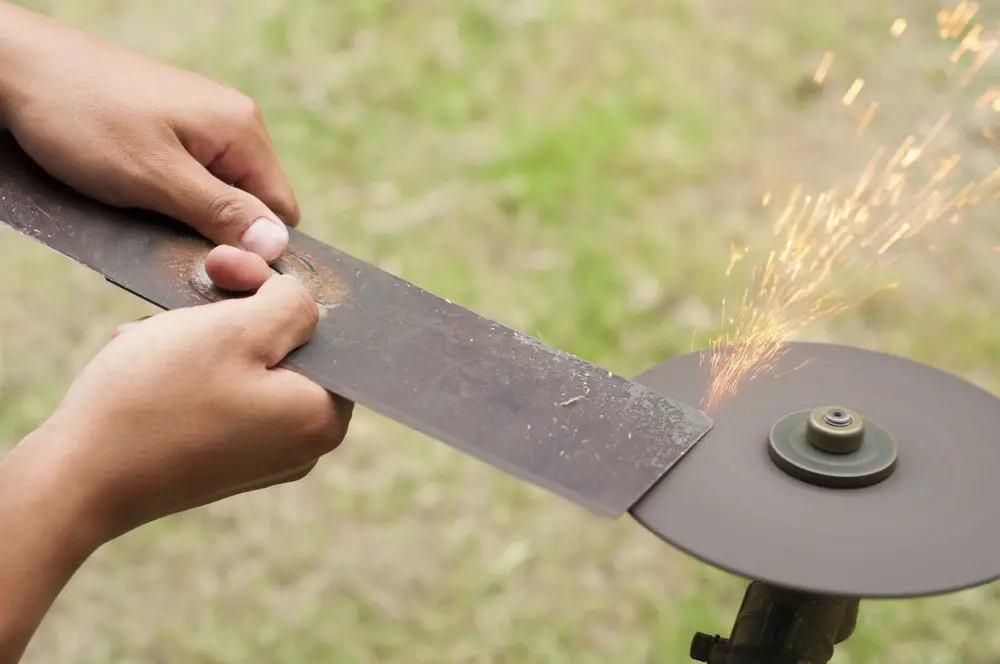
If using a bench grinder, start by resting the blade on the tool rest, with the bevel edge facing the grinding wheel. You then draw the blade across the wheel towards you once the wheel is spinning.
As you do so, make sure to keep the angle of the blade the same all the way across so that the grinding wheel makes contact with the blade at a 30- to 35-degree angle.
If you’re using an angle grinder, it’s best to secure it in a bench vice and run the grinder backward and forward along the length of the blade until the nicks and dents are removed.
If you don’t have a bench vice, you can clamp the blade down with a G-clamp, or failing that, use your hand to hold the blade in place on the workbench (taking extra care to be safe).
4 – Achieve The Right Blade Edge
Pass the blade across the grinding wheel, back and forth, until the blade is sharp, with all the nicks and dents removed.
Next, place the blade in a bench vice so the beveled edge is parallel to the floor. Using a hand file, file the bevel smooth, removing any inconsistencies.
Run the file along the blade’s edge from the inside to the outside in a method called draw filing.
Once you’re happy that the blade is sharp and the surface of the bevel is smooth, flip the blade over. Use a few strokes of the file to remove the burr on the blade’s edge.
The burr is a little line of rolled-out steel left over from grinding and filing the bevel.
Repeat the process on the other side after finishing one end of the lawn mower blade.
5 – Check Blade Balance
Your final step in sharpening your lawn mower blade is to balance it so there is minimal vibration when it turns.
Place the center hole over the blade balancer tool to check if the blade is balanced. If one side of the blade drops, you need to remove a little of the steel on that side to balance it.
Using the file or your grinder, make a few light passes on the beveled edge and retest the balance.
You’re finished with the blade once the blade is evenly balanced and the edge is sharp.
5 – Test Your Sharpened Lawn Mower Blade
Reattach the lawn mower blade to your lawn mower, then do a quick test cut. If the cut looks good, finish mowing and enjoy your beautiful-looking lawn.
How Often To Sharpen Your Lawn Mower Blade
You should sharpen lawn mower blades after every 20 to 25 hours of use. If the blade becomes bent or warped, it’s time to replace it with a new one.
Why Sharpening Your Lawn Mower Blades Is Important

A sharp lawn mower blade is a pleasure to use, as the surface of your lawn will be smooth and free from lumps and bumps.
Cleanly cut grass also means less chance of mold and other diseases damaging your lawn.
A sharp blade doesn’t rip the grass out, which damages the root structure of your lawn and leads to the grass dying or becoming discolored.
You also increase the lawn mower’s wear and tear if you cut grass with a dull blade. The dull blade is more likely to snag on the grass, which creates increased stress on the spindle and pulleys. Your lawn mower motor will also have to work harder, increasing oil and fuel consumption.
My Experience With Sharpening Lawn Mower Blades
I’ve been sharpening lawn mower blades since I was a youngster. My grandfather taught me. I wasn’t allowed to use a grinder at first, so I learned the hard way by using a metal file.
I started with the curved blades of rotary push lawn mowers, as that is what I used to cut my grandparents’ yard. Keeping the bevel even across the whole blade was a challenge, but under the guiding hand of my grandpa, I soon got the hang of it.
After we purchased a powered lawn mower, I got to grips with first the multiple small blades bolted onto a cutting disk, then to the single-blade setups we have today.
I’ve saved thousands of dollars over the years by sharpening my own blades. Also, having a lawn mower with a sharp blade cutting my lawn has been a pleasure. It’s reduced the time it takes less time to get an immaculate finish and is one of the reasons I’ve seldom been troubled by rust or other lawn diseases.
