Your lawn mower needs a clean, correctly adjusted carburetor to run properly, and diagnosing and fixing one when it goes bad is essential. So, here’s how to expertly diagnose and fix a bad lawn mower carburetor.
Malfunctioning lawn mower carburetors make the engine hard to start, can cause a rough idle, and will reduce power. Black smoke coming from the exhaust is often an additional indicator that the carburetor is the cause of the problem. Cleaning or replacing the carburetor usually solves the problem.
In this content you’ll learn:
My Experience With Diagnosing And Fixing Bad Lawn Mower Carburetors
Having worked on lawn mowers for over 30 years, I’ve seen all sorts of problems with carburetors. Most don’t work because owners have neglected and not properly maintained them.
I had a member of staff once who loved to bounce all over the property, riding around like he was in a bumper car. Unfortunately, with all the churning motion in the tank, dirt and gunk ended up in the fuel filter, eventually finding their way past and clogging the carburetor.
“Mr. Bumper Car ” stalled at the far end of the property and was extremely disgruntled, returning after a 20-minute walk through the countryside to let me know he needed help.
After bringing the lawn mower back to our workshop, I replaced the fuel filter in a few minutes, but the carburetor needed a little more time. After stripping it down and blowing compressed air through the jets, I put the carburetor back together and had “Mr. Bumper Car” back to work with a few choice words.
Understanding The Lawn Mower Carburetor

A lawn mower carburetor mixes a large amount of air and a small amount of gasoline to create a flammable mixture. When you start the engine, it ignites this mixture, producing the power driving the lawn mower’s blades (which you should always make sure to sharpen and replace appropriately).
Here is a simple explanation of the two main types of carburetors found on lawn mowers and how they work.
Float-Type Carburetor
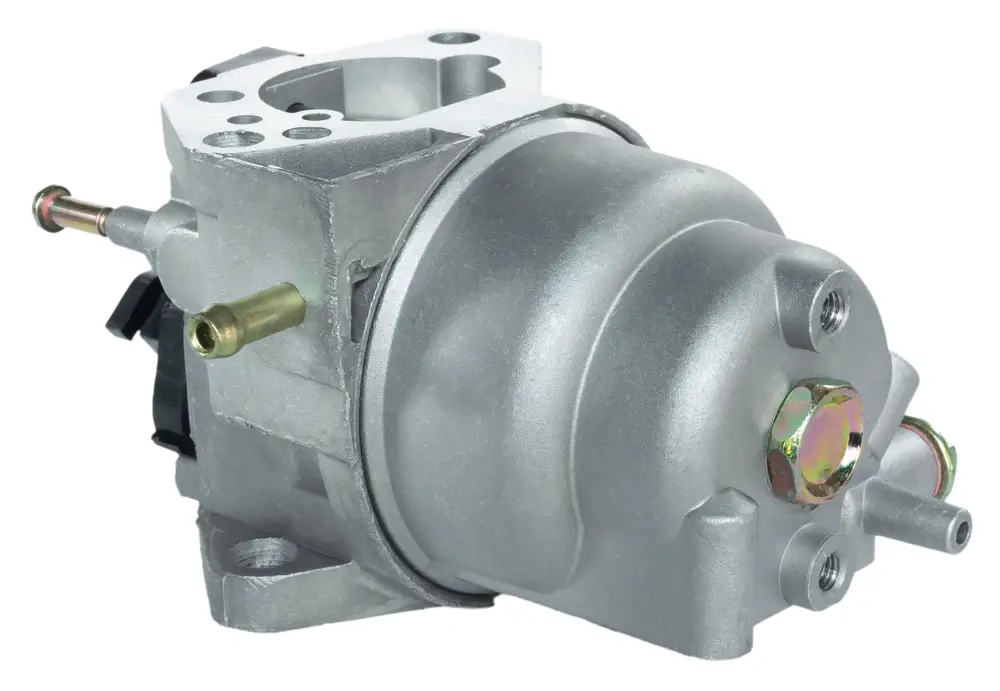
The fuel leaves the fuel tank either under gravity or through a fuel pump. It travels through a fuel filter, and from there, it flows along the fuel line and into the carburetor float bowl. The float bowl is a small metal bowl you can find at the bottom of the carburetor, and it holds a set amount of fuel.
A valve connected to an air-filled plastic float controls the amount of fuel in the float bowl. The valve opens as the fuel level drops and the plastic float drops down. The valve then closes when the correct level is reached, and the bowl is full, with the plastic float floating on top of the fuel.
Fuel jets (skinny tubes) are positioned in the fuel bowl to allow the fuel to flow up into the venturi in a precise, metered amount. You can find the venturi in the middle of the carburetor, and it is the section where the air and fuel mix.
When you pull the starter cord, the air from the air filter is drawn into the carburetor by the piston in the engine, creating suction as it moves down. The air moving up the venturi causes a drop in air pressure in the venturi. This low pressure pulls fuel up the fuel jets and into the venturi. The fuel exits the jets as a fine mist, which mixes with the air as it is drawn out of the carburetor and into the engine inlet.
A throttle plate inside the carburetor throat (top of venturi) controls the amount of air flowing through the carburetor, which controls the amount of fuel drawn out of the float bowl.
Diaphragm Carburetor
Diaphragm carburetors are similar to float-type carburetors, but they are mounted directly onto the fuel tank and use a diaphragm to pump fuel into the carburetor. They also have a rubber primer bulb that looks like a button on the side of the carburetor instead of a choke.
For these carburetors to work, you must first pump the primer bulb three or four times with your thumb to draw fuel into the carburetor.
Once you start the lawn mower, the diaphragm inside the carburetor moves up and down, pumping fuel into the main jet. The fuel feeds into the venturi, mixing with the air to create a flammable mixture drawn into the engine.
How To Diagnose A Bad Lawn Mower Carburetor

Before diagnosing your carburetor, you need to know what type it is and what to look for.
1 – Understand Lawn Mower Carburetor Types
The three most common lawn mower carburetor types include diaphragm, float-type, and fixed-jet carburetors.
It helps to know which type you have, as the diaphragm and primer bulb are common failure points on diaphragm carburetors. Whereas float-type carburetors are prone to sticking float-bowl valves.
Some modern lawn mowers make use of plastic diaphragm carburetors. The design is simple and makes use of a flexible diaphragm to regulate the flow of fuel.
Older lawn mowers mostly have float-type carburetors. These have a float and valve that control the fuel level in the carburetor’s fuel bowl.
Fixed-jet carburetors are far less common and found on some small-engine lawn mowers.
2 – Visually Inspect The Carburetor
You’ll want to regularly inspect and clean your carburetor. Look for the issues below while doing so (or when you suspect issues).
To begin, look for any noticeable damage to the carburetor. You may see cracks, leaking fuel, and damaged or loose connections.
Look for leaks around the joint between the carburetor and the fuel tank on lawn mowers with the carburetor mounted on top of the tank.
For other carburetor styles, check the fuel lines for kinks or damage. Check the fuel filter for discoloration or debris.
3 – Pay Attention For Performance Issues
A normal lawn mower engine’s revolutions per minute (RPMs) are between 2,800 and 3,600. You’ll hear the occasional missed beat, but a running lawn mower engine should produce a smooth sound for the most part.
Here’s what to look and listen for in terms of possible carburetor issues.
Difficulty Starting The Lawn Mower
The lawn mower may refuse to start or run. You’ll smell a strong gasoline smell if too much fuel is reaching the engine. A stuck float valve or incorrectly adjusted choke may be causing this issue.
You can only fix a stuck valve by dismantling the carburetor and cleaning the moving parts inside the fuel bowl. You can find the choke lever either up on the handle or on the side of the carburetor. To adjust it, you must push it to the on-position when starting a cold lawn mower and back to the off-position when the engine has warmed up after a few minutes.
By removing the spark plug, you can confirm that too much fuel is entering the combustion chamber (where the lawn mower burns the fuel-air mix). Too much fuel is getting in if the spark plug is wet.
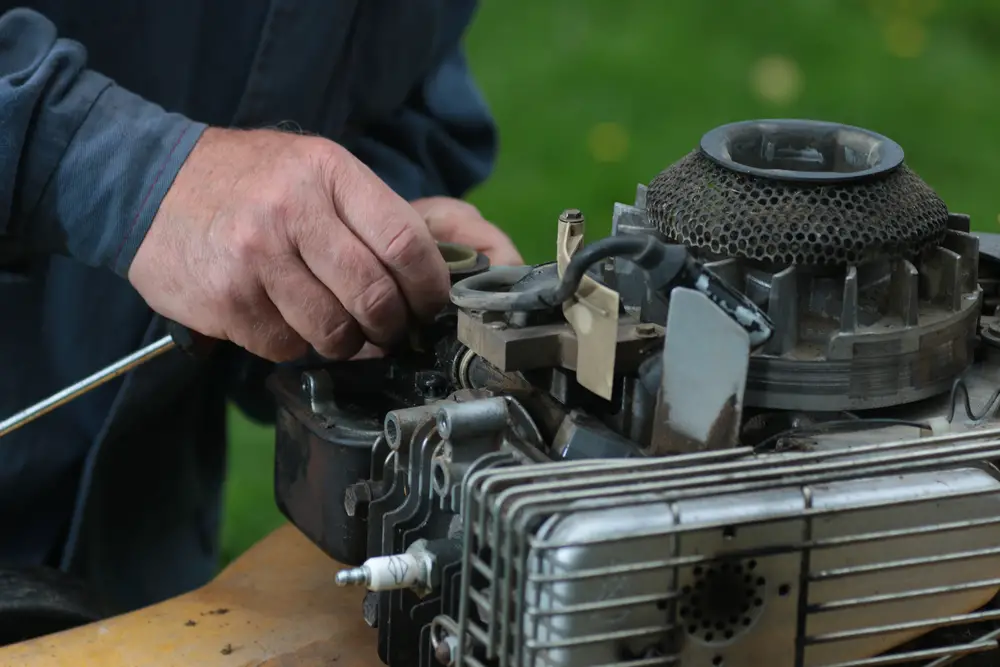
You can usually find the spark plug on the front of the engine with a thick rubber electrical connection attached to the top of it. Pull the connection off and use a spark plug socket to unscrew it. The spark plug has a thin metal connector on top of a ceramic body with a thick metal body, which is threaded where it enters the engine.
After unscrewing the spark plug, inspect the end below the thread. You’ll see a small right-angle electrode that should be a dark brown or black color. If it is black and wet, too much fuel is reaching the engine.
You may also need to replace your spark plug.
Engine Stalling Or Running Rough
Too much fuel (a rich mixture) or too little fuel (a lean mixture) can cause the engine to stall or run with a very rough beat.
Abnormal Exhaust Smoke
A small puff of white smoke is normal, but once your lawn mower’s running, there shouldn’t be any at all.
Black smoke usually indicates the fuel mixture is too rich.
If your lawn mower is liquid-cooled, white smoke means there’s coolant in your combustion chamber, indicating a cracked cylinder head or damaged gasket. A qualified mechanic has the tools to confirm whether the head is cracked or only needs a new gasket.
Poor Performance And Power Loss
Fluctuating engine speed accompanied by pops and bangs is another indication of a carburetor problem. An inconsistent mixture or a blockage somewhere in the carburetor causes these issues.
4 – Test The Carburetor
If adjusting the choke doesn’t work, you will have to remove the carburetor to clean and test it. If you suspect the head gasket is damaged or the engine head is cracked, take the lawn mower to a service center for evaluation.
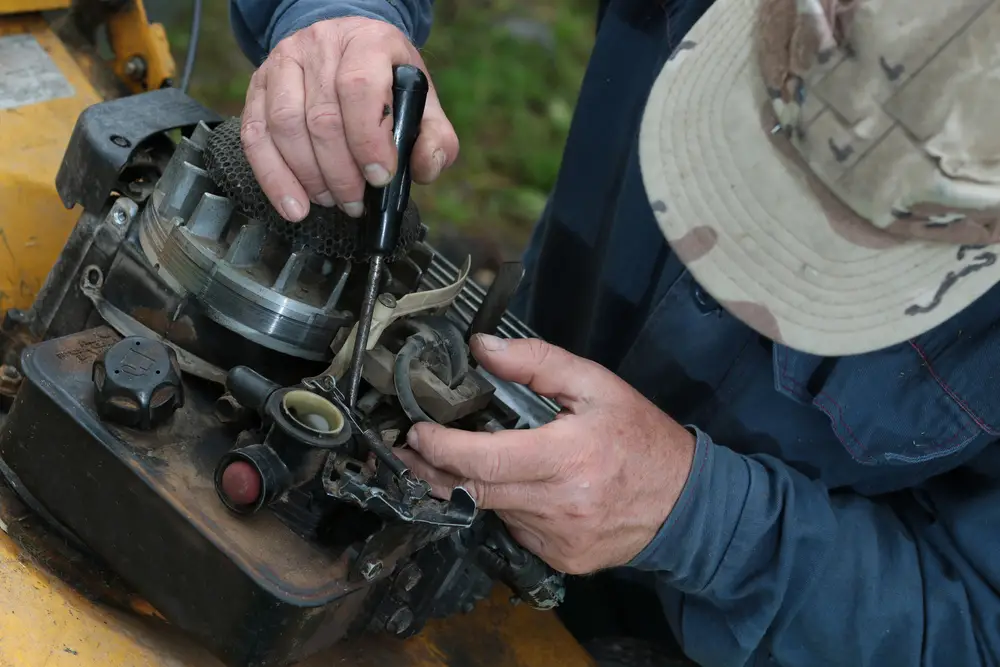
To remove the carburetor, disconnect the fuel line and the throttle linkage. The throttle linkage is a small metal arm connecting to the carburetor on one end and the throttle cable on the other. The linkage is held in place by a small tab. You can line up the tab with a small indent on the carburetor to remove it. Remove the carburetor from the lawn mower by unscrewing the retaining bolts.
Unscrew the bolts holding the carburetor together. Then gently lift the float to see if the needle valve closes and stops fuel flow.
Step-By-Step Guide To Fix A Bad Lawn Mower Carburetor

There are many steps to take when you need to fix a bad lawn mower carburetor. Take them individually, and remember you’ll get better with practice.
That said, as with any maintenance, the first thing to do is to take the proper safety precautions.
1 – Take Proper Safety Precautions
Always perform lawn mower maintenance on a level surface and in a well-ventilated space. Chock the wheels to prevent it from rolling.
Always disconnect the spark plug wire before starting work. Wait for the engine to cool down if needed, then gather what you need.
2 – Gather Necessary Tools And Replacement Parts
You’ll need the following tools and parts:
- Safety goggles
- Work gloves
- Screwdrivers (flathead and Phillips)
- Wheel chocks
- A wrench set
- Spark plug socket set (to remove the spark plug)
- Carb cleaner
- Small brush or toothbrush (for cleaning dirt and grime off the carburetor exterior)
- Compressed air (for dislodging debris inside the carburetor)
- Drain pan (to collect any fuel)
- Replacement parts (consult your lawn mower manual to find your carburetor’s make and model, then order from a reputable dealer)
3 – Remove The Air Filter
Unscrew the retaining screws and remove the air filter to access the carburetor.
4 – Disconnect Throttle Linkage And Fuel Line
Disconnect the throttle linkage and then disconnect the fuel line from the carburetor. Loosen the clamp by compressing the tabs with a pair of pliers. Once the clamp is loose, pull the fuel line off the carburetor. You may have to twist it back and forth a little to get it to come loose. Use a cloth, as some of the fuel will leak out. Have a drain pan or bottle handy to catch the fuel that drains from the tank.
5 – Remove The Carburetor
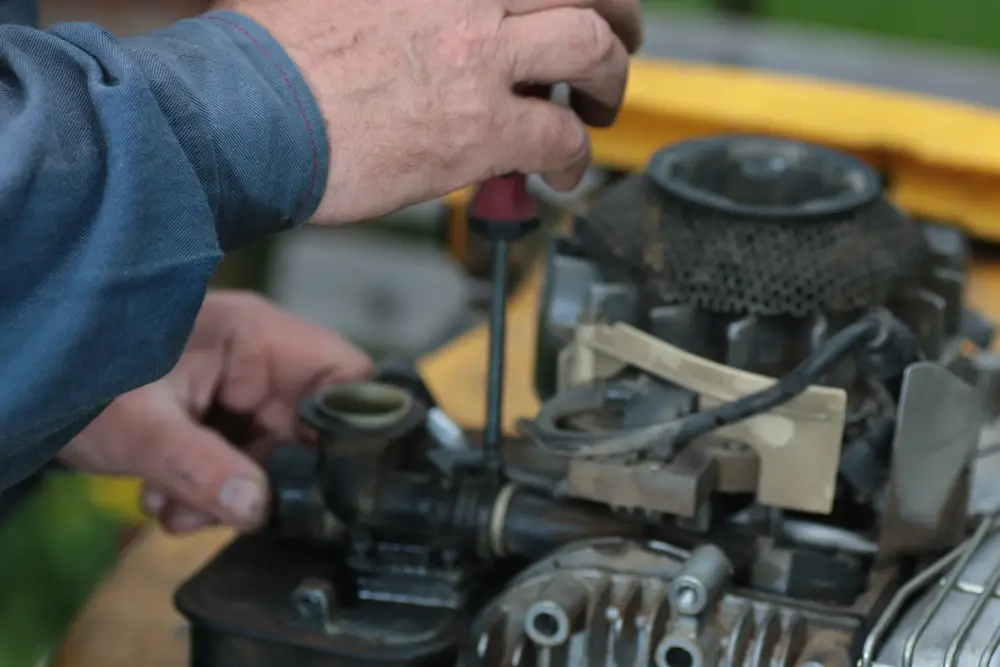
Unscrew the bolts holding the carburetor on the engine. Depending on the carburetor type, one of the bolts may also be a jet, so be careful not to damage the hole in it.
The main jet can be mistaken for a securing bolt on some carburetors. When you remove it, you’ll see a small hole at the end of the bolt, which is the jet.
6 – Clean The Carburetor
Clean the carburetor with carb cleaner so no dirt and debris get on the interior surface or become lodged in the jets. The jets are small holes in the body of the carburetor, and blowing air or carb cleaner through them will confirm that they are free of debris.
7 – Take The Carburetor Apart
To fix your lawn mower carburetor, you’ll need to disassemble the carburetor completely, taking note of where everything goes. It helps if you have a diagram of your carburetor to refer to.
8 – Clean All Carburetor Components
Soak all the carburetor components in carburetor cleaner, especially jets and control screws. You can also use gasoline to clean the pieces. Put the carburetor parts into a jar of gasoline and leave them overnight to soak.
Once clean, you can wipe off any excess fuel (most of it will evaporate) and blow air or carb cleaner through the hotels to confirm that they’re clear.
Ensure you don’t put the jar close to an open flame, as the gasoline is flammable. Leaving a window open to dissipate fumes is also a good idea. The alternative is to cover the jar loosely with a lid until you can remove the components.
9 – Remove The Fuel Bowl
Clean the fuel bowl, and remove any deposits or debris. Use a small wire brush and some elbow grease to get it clean.
You can quickly identify the fuel bowl as the area where the plastic float rests.
10 – Clean All Carburetor Holes
Take a thin piece of wire and push it into each hole in the carburetor, ensuring nothing is blocking the way. Then spray carb cleaner inside, followed by a blast of compressed air.
11 – Replace The Gaskets And O-Rings
Remove any gasket material that might have adhered to the surface of the carburetor and replace the rubber o-rings where required.
The gasket is a paper-like item that sits between two metal parts. It provides an airtight seal. Once you break the seal, you must remove the gasket and replace it with a new one. Before replacing it, carefully remove any traces of the old gasket.
The o-rings are rubber and sit inside grooves inside the carburetor body. Their purpose is also to provide a tight seal, but their design allows them to move slightly to accommodate movement inside the carburetor. While you can reuse o-rings, it is advisable to replace them with new ones as they degrade with age and become brittle and cracked.
12 – Reassemble The Carburetor
Reassemble the carburetor, placing the new gaskets and o-rings in position.
13 – Reconnect All Disconnected Lawn Mower Parts
Follow the reverse order you took to remove the carburetor, making sure that each of the bolts and linkages is in the correct place.
Replace the air filter, cover, and reconnect the spark plug wire before restarting the lawn mower.
14 – Adjust And Tune The Carburetor
It is unlikely your lawn mower will run properly after taking it apart and cleaning it. This is due to the settings being incorrect. You will need to adjust and tune the carburetor so the lawn mower starts and runs smoothly.
By adjusting the mixture screw and the throttle setting, you can fine-tune the fuel/air mixture so the lawn mower operates at the correct speed. The mixture screw is one of two screws on the carburetor that control the fuel flow. By turning the screw clockwise, the pointed end of the screw closes the gap inside the carburetor, reducing the fuel entering the engine.
Turning the mixture screw counter-clockwise allows more fuel to enter the engine. This is referred to as making the mixture richer. You should consult your manual to identify the mixture screw.
However, some lawn mower carburetors don’t require adjustment. For carburetors with an idle adjustment screw (also called an air/fuel mixture screw) and a main jet adjustment screw, follow the steps below.
1 – Reset The Air/Fuel Mixture Screw
Locate the air/fuel mixture screw on the side of the carburetor. This screw is usually the largest one, but if you are uncertain, check your manual. Turn the screw all the way out and then turn it back in 1¼ to 1½ turns. Depending on the carburetor design, this sets the fuel or air quantity. You don’t have to reset this again.
2 – Reset The Air/Fuel Mixture Screw
Locate the main jet adjustment screw located underneath the carburetor. The main jet adjustment screw is usually smaller than the mixture screw, but confirm it in the manual if you are uncertain. Turn it all the way out and then turn it 1½ to 1¾ turns in. Start the lawn mower and see if the engine runs correctly, sounds labored, or revs up and down. This is called “hunting,” as the engine is hunting for fuel because the mixture is too rich.
3 – Reset The Air/Fuel Mixture Screw
If the engine starts “hunting,” turn the screw back out a ¼-turn. Repeat the process until a little black smoke emerges from the exhaust. Turn the screw back in a ½ turn. You want the adjustment screw in the middle between too rich (black smoke) and too lean (hunting).
After following these steps, the lawn mower should run normally. If it does not, go back to step one of the adjusting/tuning process and ensure you have correctly identified the mixture screw and the main jet screw by consulting your manual.
How To Maintain A Healthy Carburetor
To keep from having to fix your lawn mower carburetor, you should keep the carburetor clean by brushing away dirt and grime regularly. This will help prevent the carburetor from getting gummed up.
One of the best ways to protect your carburetor is to only use fresh fuel. Old fuel clogs the jets and causes the mixture to become too lean.
Storage Tips To Avoid Carburetor Issues During Off-Seasons
Use a fuel stabilizer such as STA-BIL® Storage to prevent the fuel from damaging your engine components during the off-season.
Mix the stabilizer with the fuel before using it at the end of the season. This ensures that the stabilized fuel flows through the entire engine and carburetor.
Most fuel now contains varying amounts of ethanol. Fuel that contains ethanol attracts atmospheric water vapor. This causes rust as the lawn mower stands over winter. Adding a stabilizer can help prevent rust from forming inside the engine. Running the fuel tank dry helps to prevent long-term corrosion, as there will be minimal fuel to attract water vapor.
There is some debate over whether stabilized fuel can be left in the lawn mower over winter, but I prefer to remove the fuel as water vapor is less likely to accumulate if there is no fuel to attract it.
Final Advice On How To Fix A Lawn Mower Carburetor
While a lawn mower carburetor may appear complex, modern ones are simple enough for a competent DIY enthusiast to work on and fix.
I was taught how to strip and clean a carburetor when I was a teenager, and it has saved me time and money over the years.
The sense of achievement after you diagnose and fix a bad lawn mower carburetor is well worth the effort. It may take a few tries, but keep at it until you’ve done it.
