
In this content you’ll learn:
Key Takeaways
- A lawn mower that starts then dies requires you to go through a series of checks, including the fuel, air, and electrical systems.
- Many problems, such as spark plugs or air filters, are simple fixes you can do yourself.
- Some problems, such as electrical ones, require professional help.
If your lawn mower starts then dies, something is restricting your lawn mower’s engine from operating at its best. This could be due to various issues, so following a troubleshooting checklist is best. This allows you to rule out potential causes and ultimately find the right one.
Sometimes, it takes a little maintenance to solve the problem, which will only cost a few dollars. However, engines will wear and tear over time, and the first step is not to panic or get upset.
What To Do When Your Lawn Mower Starts Then Dies

If the lawn mower starts then dies on a cold start or first crank, there may be nothing wrong with it. However, if it continues, stop trying to start it and begin the troubleshooting process.
1- Gather Needed Tools
Here are some safety tips to follow to keep you and the environment safe:
- Work gloves
- Eye protection
- Cleaning cloth
- Wheel chocks
- Gap tester (if you need to test the spark plug)
- Ratchet and socket (for removing the spark plug)
- Flathead screwdriver (for checking the fuel filter)
- RPM tester (for adjusting the carburetor)
- Carburetor cleaner
2- Follow Safety Guidelines
Always work in a well-ventilated space and put your lawn mower on a stable surface. Chock the wheels to prevent it from rolling.
In addition to wearing proper safety gear, such as eye goggles and gloves, tightly closing containers with fuel, and quickly cleaning up spills, you’ll also want to do the following before performing any work on your lawn mower.
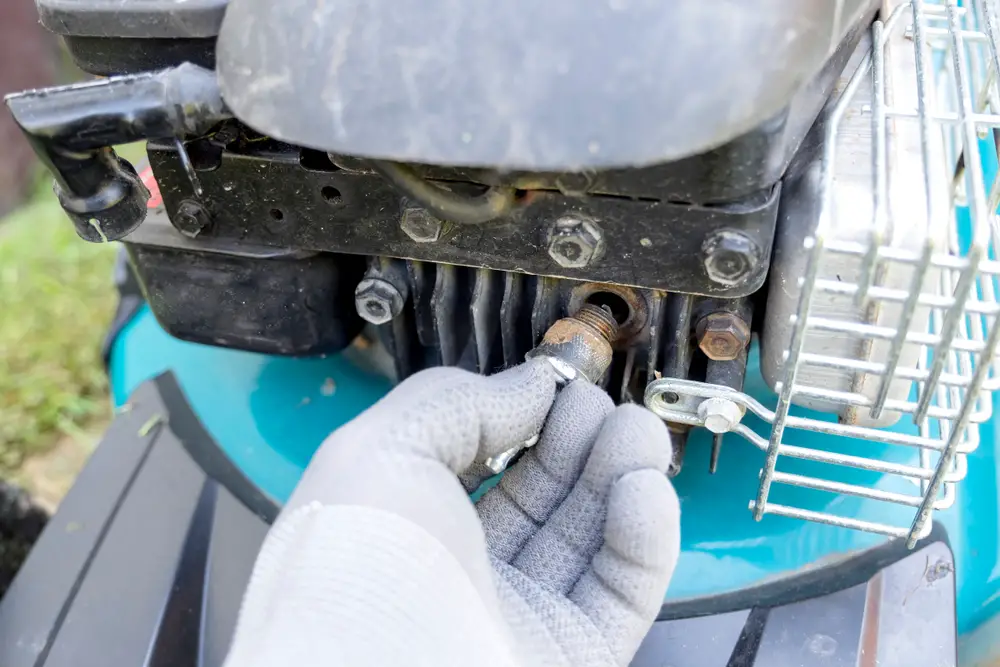
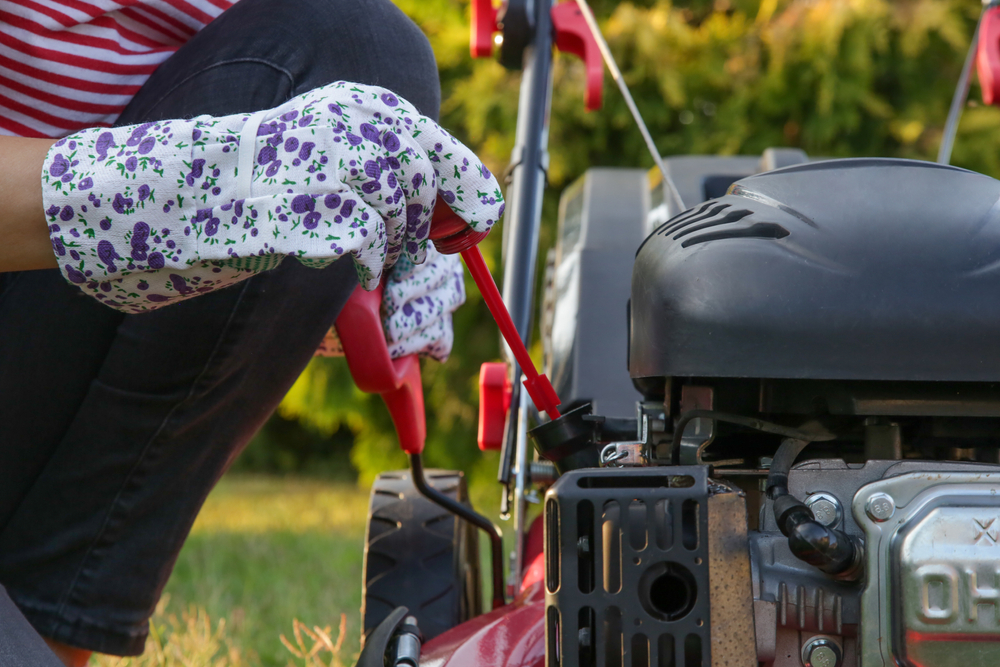
1 – Remove The Spark Plug
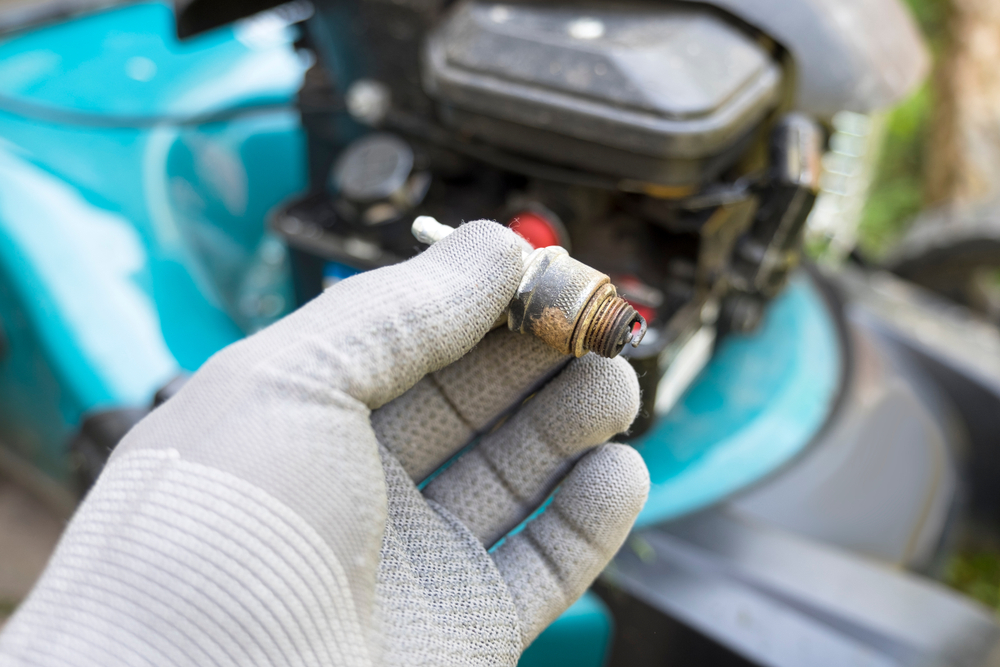
Always remove the spark plug (the primary source of electricity from the battery to the motor) before working on your lawn mower. You can find the spark plug by looking for an open hole in the front or the side of the engine. It’s the only hole in the engine’s plastic cover, with a single wire and long slender component sticking out.
This component is the spark plug. There is a connection on top of the spark plug to remove the wire. Hold the connection tightly and carefully pull the wire off the spark plug.
Removing the wire reveals a silver connection attached to a long, skinny, white piece. From there, you typically need to use a ⅝” deep socket with a ratchet to remove the spark plug.
Once you set up your ratchet, place the deep socket all the way over the spark plug and turn it to the left to loosen it. Unscrew it completely to remove it. Set it off to the side in a safe location.
2 – Drain Fuel

Once you remove the spark plug, removing all the fuel from the tank is a good idea. Depending on the amount, you may need to use a siphoning (suction) tool, mason jar, or gallon jug to remove the fuel.
Be cautious not to spill any on the ground because it will spread and cause damage to the environment over time. You may use the fuel again if it has no debris or residue.
To remove the fuel, stick one end of the hose into the gas tank after opening the gas cap and push the hose all the way to the bottom of the tank. Put the other end into the empty container.
Press the hand pump on the hose until all the air goes out. Once the air goes out of the hose, it will automatically begin to suck the gas out of the tank and send it into the empty container.
3- Perform Basic Checks
It is critical to follow this checklist to avoid overlooking the cause of the issue or overspending on parts you don’t need.
1 – Check The Fuel Level
Sometimes, the gas tank is empty, and it will cause the motor to run on fumes for a couple of seconds and then die out. Check your gas tank first to rule this out.
Add more fuel to the tank and try starting your lawn mower again if the fuel level is low or empty. Continue troubleshooting if your lawn mower still starts then dies.
2 – Examine The Spark Plug
While the spark plug is out, check it to ensure enough fire passes through the point. This takes a gap tester between the point and the L-shaped piece where the spark occurs. The owner’s manual will have the information on the proper reading.
If the spark plug is the issue, purchase a new one and discard the old one.
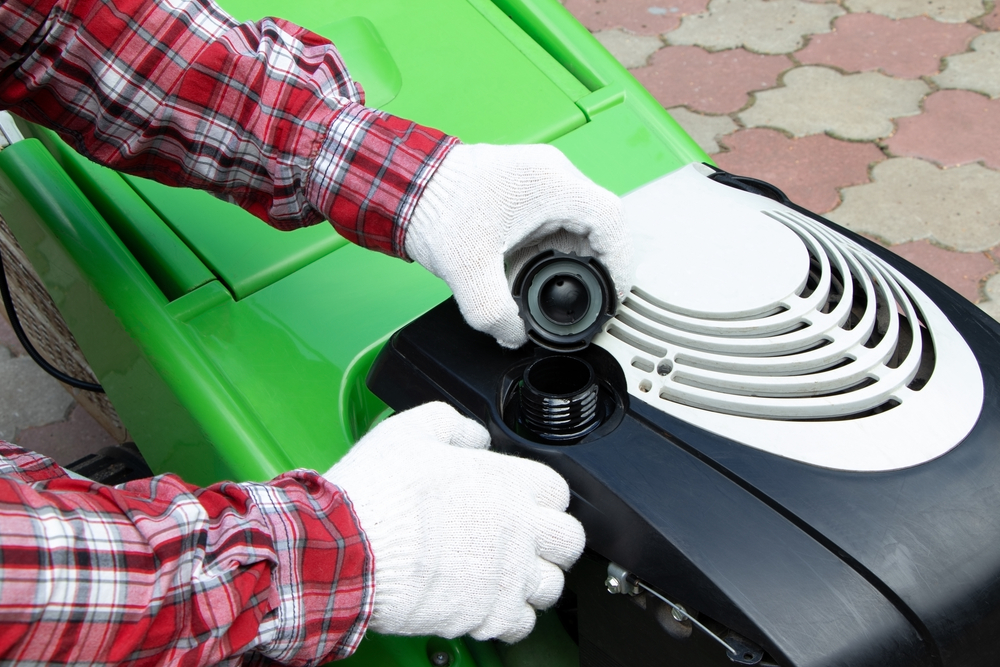
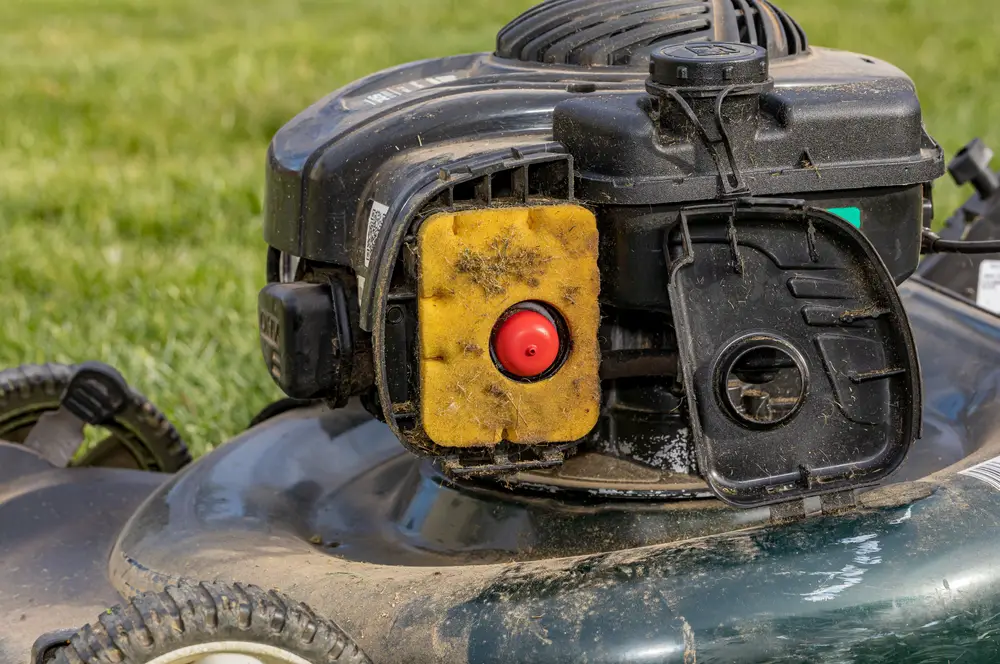
3 – Inspect The Air Filter
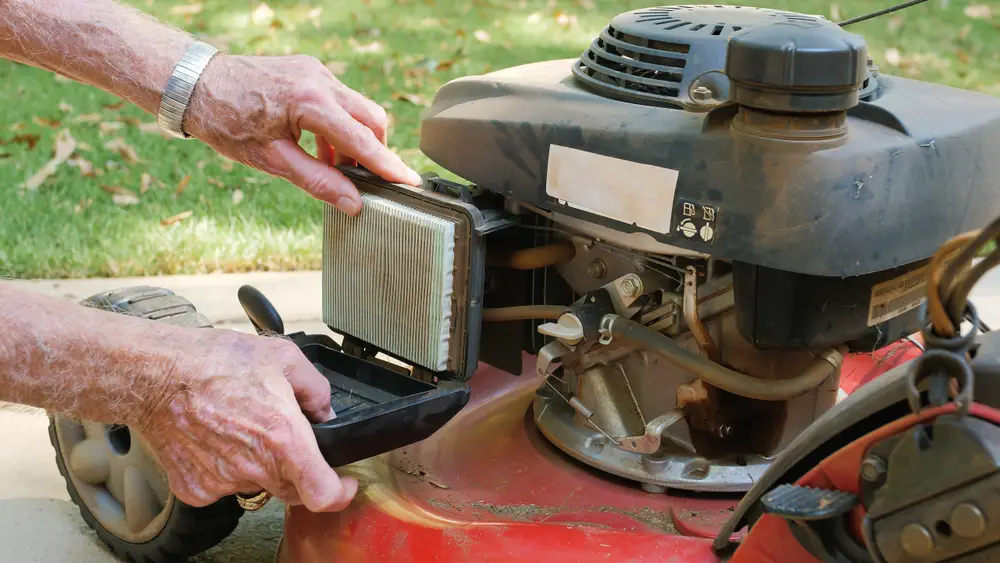
The air filter allows air to pass through to and keeps particles out of your lawn mower’s engine. If the filter clogs up, the motor cannot breathe. This will cause the lawn mower to die after it starts.
All air filters are inside a box compartment near the engine, where one winged nut holds the cover in place (the nut looks like a set of wings). Different brands of motors have them in different locations, so check your owner’s manual.
Once you remove the cover, grab the air filter and pull it out of its compartment. Some air filters look like sponges; others have metal grills with a cardboard-like material.
You will see if it’s clogged with trash and debris because it will cake up against the metal grill or sponge area. It’s time to replace your air filter if it looks this way (or you can try cleaning it). Discard the old filter, put the new one in its place, and screw the cover back on.
4 – Assess The Oil Level
Having the proper oil level is the lifeblood of the engine. It is the lubrication keeping all the parts from overheating and welding themselves together. This will cause the engine to lock up and keep the lawn mower from running correctly.
There is a cap with a dipstick fitting into a long tube-like compartment. Look for the oil symbol or the label showing “OIL.” It will be right next to the engine. Once you locate it, unscrew the cap and pull out the dipstick.
Take a rag and wipe the oil off the dipstick. Stick it back into its compartment and pull it back out. The oil will show in the safe zone or the full line.
If the oil level is below the safe zone (it will say “safe”), you must add oil until it reaches the full line. This may take several tries, so add the oil by using a funnel and stick it in the same spot you checked the oil.
Add half a quart the first time. Continue adding oil gradually, and check the level until it reaches the full line.
4 – Troubleshoot Fuel System Issues
Next, you want to look at the fuel system, which will cause the engine to die if things are not up to par.
1 – Check For A Clogged Fuel Filter

A fuel filter keeps all the contaminants and trash out of the fuel by blocking it from the tank to the engine. A clogged fuel filter will not allow enough gas to flow throughout the engine to keep the combustion process going.
You can find the fuel filter by feeling the lines running from the gas tank to the engine. The filter, usually silver or copper color, will be in-between the lines closer to the gas tank. Take note of how it is placed on the lines before removing it because it is easy to switch around, in which case, it will not work.
There are hose clamps on the front and back side of the fuel filter. Take a flathead screwdriver and unscrew the clamps until they are loose enough to pull them back from the connection area. Hold the filter tight and remove the hose from the filter connection.
Tap your filter slightly on an old towel to see if it is clogged. It is time to change the filter if the fuel is black or has extensive debris. Replace it the same way you took it out, and ensure the clamps are tightly screwed to keep the hose in place.
2 – Check For Contaminated Fuel
Mechanics call this “having trash in the gas.” If gas sits too long, it will cause a gummy, sticky substance to crystalize and will cause extensive damage to the fuel system.
Try adding some fuel treatment first (follow the instructions on the bottle). If the treatment doesn’t work, it will take trained technicians to handle the repairs because everything will require special cleaning throughout the engine and fuel system.
3 – Adjust The Carburetor
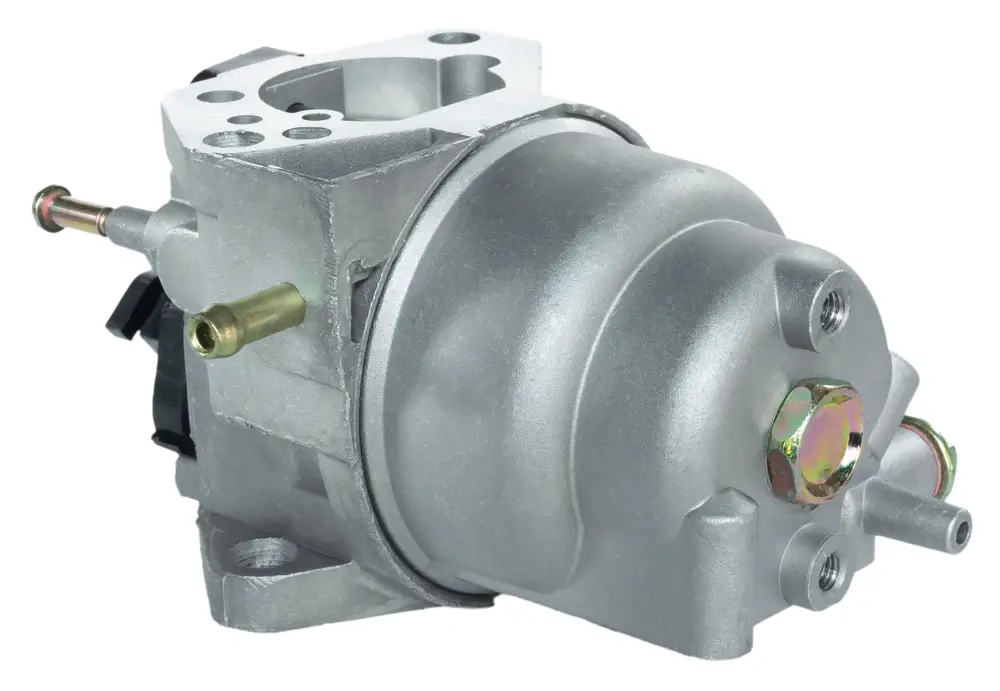
Prolonged use causes screws and parts to come loose, affecting the screw catering to the throttle on the carburetor. The lawn mower will die if the throttle/carburetor does not push enough fuel into the engine.
The carburetor is located on the side of the engine next to or under the air filter. Look for a screw inside a spring connected to a steel cable (it’s the only one). There you will find the throttle and screw to adjust the carburetor.
The tighter the screw, the higher the (revolutions per minute) RPM. It will take an RPM tester machine and the owner’s manual to set the carburetor to the right setting.
4 – Clean The Carburetor
Over time, sitting fuel will cake up and clog the carburetor. It will have a sticky or crystalized substance around the inside of the body of the carburetor. When this occurs, the parts do not open and close as they should.
All it takes is carburetor cleaner to spray in and around the inner parts of the carburetor. It will dissolve the gunk and fix the moving parts.
5 – Check For Potential Ignition System Issues

Riding lawn mowers have key-and-ignition systems, whereas push lawn mowers operate on a pull-rope start system. If the ignition system is bad, it will cause problems with how the lawn mower runs and stays on.
Here’s what to do. There are testers to show if the ignition system is bad and if insufficient voltage is going through the system. If there is not enough voltage according to the owner’s manual, then it will take a technician to replace the ignition system.
1 – Check For A Faulty Ignition Coil
If it fails, the ignition coil is part of the electrical system and may cause misfiring or bad connections. It’s where the start-up system process occurs, and the coil will wear out over time.
This is the first spot to begin checking when the start-up process fails and the lawn mower ceases to remain running.
It’s best to send electrical components to the shop for replacements or repairs.
2 – Look For A Damaged Spark Plug Wire
A damaged spark plug wire may also cause misfiring and lead to the ignition system failing. If the wire is cut or cracked, the electrical system is not getting enough juice to keep the lawn mower running.
This is also a problem to send to a professional.
3 – Look For Ignition Timing Issues
All fuel-operated lawn mowers work through combustion, which requires adequate air, fuel, and fire inside the engine chambers. Everything must remain in tune and operate at the precise time.
If a misfire exists, you will hear, feel, and sometimes see the lawn mower shaking or the motor missing.
Timing issues are complicated, so send them to a professional.
6 – Check The Airflow And Exhaust
Like the exhaust system flowing out, proper airflow is critical to keeping the lawn mower running. If either clogs up, it will choke out the motor.
Here’s what to do.
1 – Check For Blocked Air Vents
Blocked air vents will not allow the oxygen to flow correctly and cause the lawn mower to overheat. Air vents usually clog from debris, grass clippings, or excess dirt build-up and need immediate attention.
Simply remove the debris with a blower, towel, or water hose by washing the lawn mower.
2 – Look For Exhaust System Blockages
Bad air must escape the engine area as much as the good air must flow into it. If the bad air is blocked, the carbon and other harmful gasses will choke out the lawn mower, not allowing proper airflow from start to finish.
If you see any blockage, remove it when the engine is cool.
7 – Check For Other Mechanical Troubles
Other issues also cause a lawn mower to shut down after starting. These are some other suggestions I found causing problems in performance.
Check these if you have done everything else and have yet to find anything.
1 – Look For Loose Or Damaged Belts
If there are cracked or loose belts, and the PTO clutch (switch to turn the blades on and off) is engaged, thick grass will bog down the blades and kill the motor.
It is critical to achieve a clean cut by replacing these belts as soon as possible. If there is noticeable damage, follow the diagram on the deck to remove and replace the belts.
2 – Check For Engine Overheating
The entire engine could fail if this is the issue and it’s not fixed immediately. If the engine overheats, it could crack the block and render it irreparable.
The stakes are high; it will shut off before, but this is taking too big of a risk. If it shuts down on its own, it may never start back up again if overheating is the reason.
This one is best left to the professionals to repair.
3 – Look For Blade And Deck Issues
If the blades are dull or bent, it could shut the engine down in thick grassy areas. The deck could have issues where it becomes uneven and scrapes the ground or is bent into the spinning blades. These are issues requiring immediate replacement to keep the lawn mower in operable condition.
There is only one bolt that holds each blade into place. The deck has multiple connections that require the owner’s manual to remove.
8 – Check The Electrical System
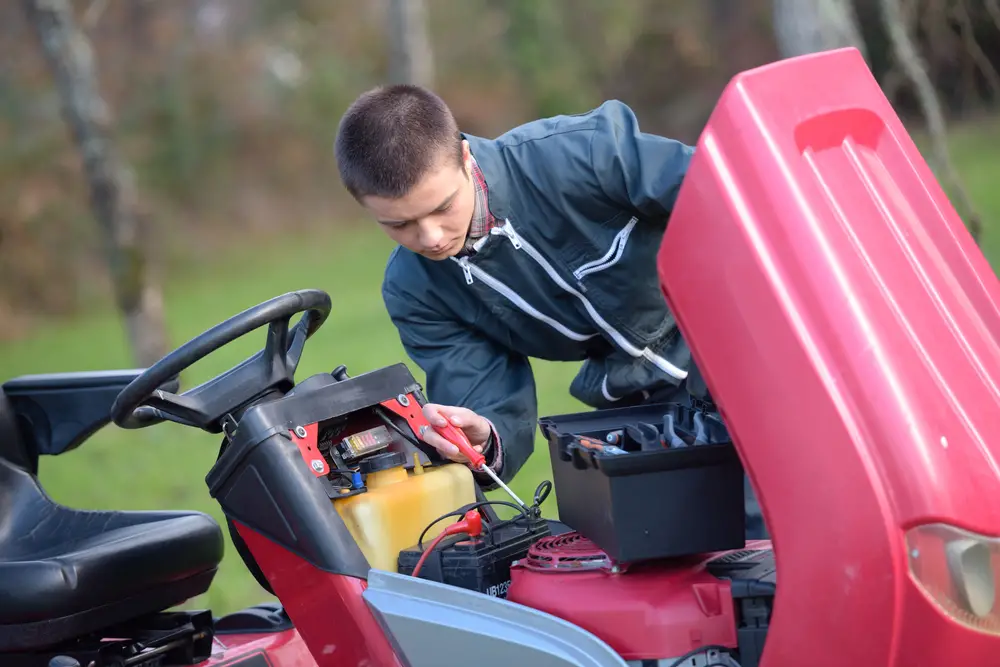
I find this is the most tricky because the problem could be anywhere on your lawn mower. If something is grounded out, nothing electrical will work. These are the electrical components to check because they all work together:
- The battery
- Spark plug
- Spark plug wires
- Ignition switch/coil
- All safety switches
- PTO and all electrical engaging devices (hour meters, lights, etc.)
- All wiring harnesses and wires
1 – Check For Battery Problems
A weak battery or a battery with a loose or corroded connection will cause problems from fuel efficiency to the lawn mower not running. If you suspect an electrical problem, always look for possible battery issues, such as old age or faulty connections. It could save you time and money.
Remove the connections from the positive (+ Red wire) and negative (- Black wire) terminals (make sure your lawn mower is off and follow your manual’s process for doing this). Before purchasing a new battery, use a steel brush to clean off the connection area. To replace the old battery with a new one, put the connections back the same way you removed them.
2 – Look For Wiring And Connection Inspections
If one wire is loose, cut, or exposed in any way, it could ground out the lawn mower (stop the flow of electricity) and shut the engine down. It will disengage everything if the wire or connection comes in contact with metal or water.
You’ll need professional help with this and to replace any wires you notice are faulty.
When To Seek Professional Assistance
Sometimes, you try all the above for a lawn mower that starts then dies and just can’t figure out what’s happening. Or you figure it out, but the fix required is too complex or unfamiliar. Contact a professional in either of those cases.
Regular Lawn Mower Maintenance Tips
By performing lawn mower maintenance, you will add life to your machine. It could last decades longer if you follow these tips:
- Change the oil and oil filter after 50 hours or every grass-cutting season.
- Drain the oil and gas when storing the lawn mower for the winter season.
- Change the air filter and spark plug once a year.
- Keep the tires appropriately inflated (see owner’s manual)
- Keep the deck level.
- Check all belts and parts before each use.
- Sharpen or change out blades every other cut. It is best to keep two sets of blades.
Why Is Addressing This Issue Important?
If a lawn mower starts then dies, it demands immediate attention. Even seemingly small problems always lead to more significant and costly issues down the road, such as damaging the engine. Once the engine breaks, replacing it could cost hundreds to thousands of dollars.
So, if your lawn mower starts then dies, start figuring out the problem right away.
My Experience With Lawn Mowers Starting Then Dying
I have been a mechanic for over two decades. My dad was a mechanic for over 40 years. I learned from my mistakes and other people’s tips. One thing remains certain: maintenance is the primary factor in avoiding almost all breakdowns.
Following these tips makes staying safe and fixing the problem easy. However, bring the issue to a professional if you’re still uncertain.